I still remember the first time I rode my DIY Electric Longboard – the rush of adrenaline, the wind in my hair, and the feeling of freedom that came with it. It’s a sensation that’s hard to describe, but it’s one that I’ve become addicted to. Despite what many people think, building your own electric longboard isn’t just for tech-savvy enthusiasts or experienced woodworkers. In fact, with the right guidance, anyone can create their own DIY Electric Longboard and experience the thrill of cruising around on a custom-made ride.
In this article, I’ll share my personal experience and provide you with practical tips on how to turn your old longboard into a torque-wielding electric beast. You’ll learn how to choose the right components, assemble your board, and troubleshoot common issues. My goal is to give you the honest advice you need to build a DIY Electric Longboard that’s both fun and functional. By the end of this guide, you’ll be equipped with the knowledge and confidence to create your own unique ride and join the electric longboarding community.
Table of Contents
Project Overview
Total Time: 5 hours 30 minutes
Estimated Cost: $200 – $500
Difficulty Level: Hard
Tools Required
- Drill Press ((for precise drilling))
- Jigsaw ((for cutting curves in wood))
- Soldering Iron ((for electronics work))
- Wrench Set ((for tightening and loosening bolts))
- Pliers ((for gripping small objects))
- Wire Strippers ((for stripping electrical wires))
- Safety Glasses ((for protecting your eyes))
Supplies & Materials
- Electric Skateboard Kit ((including motor, battery, and speed controller))
- 2-in x 4-in lumber ((for deck construction))
- 3/4-in plywood ((for deck base))
- Truck Assembly ((for holding the wheels))
- Wheels ((specifically designed for electric longboards))
- Battery Management System ((for monitoring and controlling the battery))
- Electrical Wire ((for connecting components))
- Epoxy Resin ((for bonding wood and other materials))
Step-by-Step Instructions
- 1. First, gather all the necessary components for your DIY electric longboard, including a high-torque motor and a reliable battery. Make sure you have a good understanding of the electrical and mechanical aspects of the project to avoid any safety hazards.
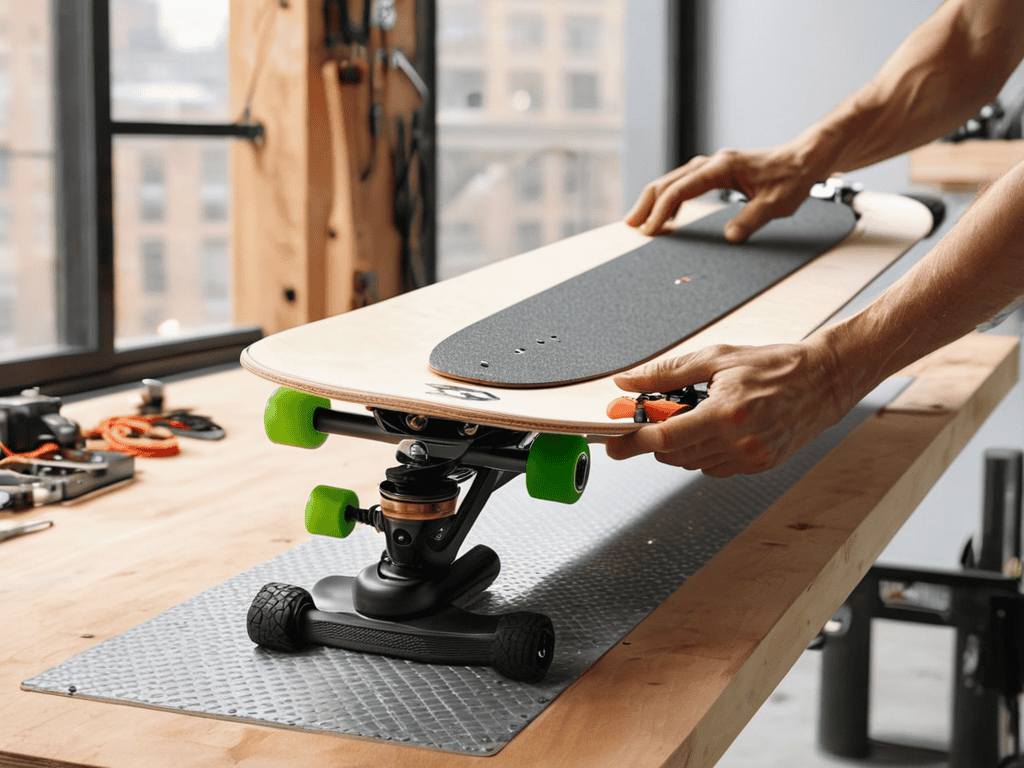
- 2. Next, prepare your old longboard by removing any unnecessary parts, such as the trucks or the grip tape, to make way for the electric components. This is a crucial step, as it will allow you to integrate the motor and battery seamlessly into the board’s design.
- 3. Now, attach the motor to the longboard using a suitable mounting system, ensuring that it is securely fastened and properly aligned with the wheels. This will help to prevent any vibrations or imbalances that could affect the board’s performance.
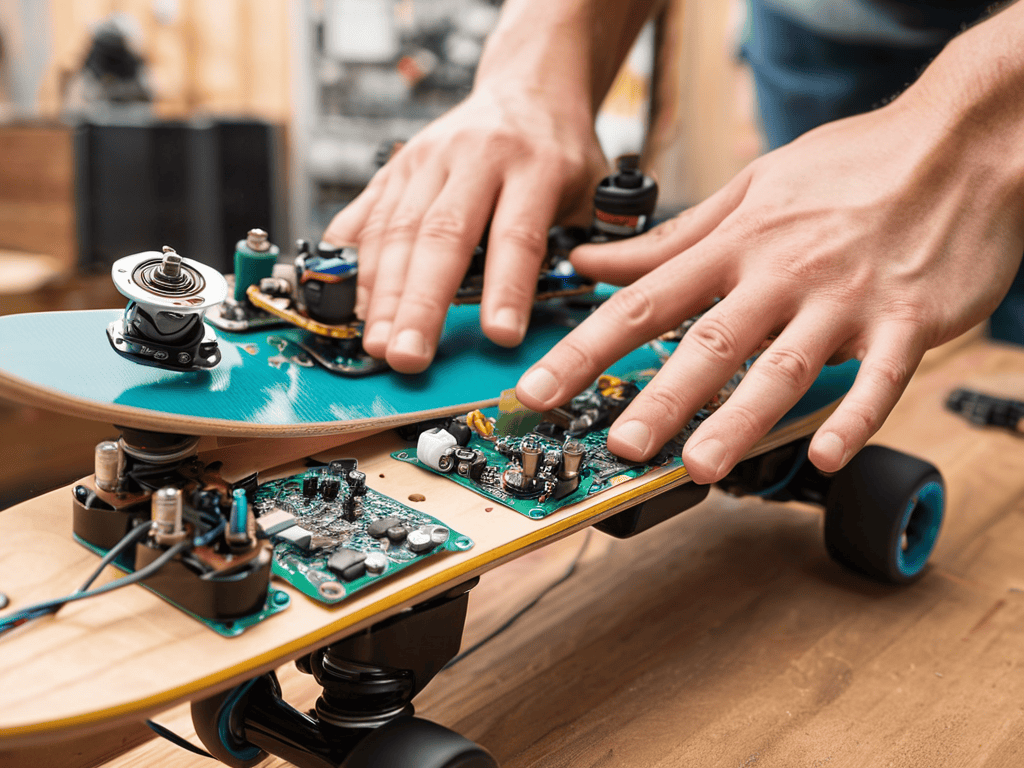
- 4. After that, install the electronic speed controller (ESC) and connect it to the motor and battery. The ESC is a critical component, as it will help to regulate the motor’s speed and prevent overheating or damage to the electrical system.
- 5. Then, add the battery to the longboard, making sure it is securely fastened and protected from the elements. You can use a waterproof enclosure to keep the battery dry and extend its lifespan.
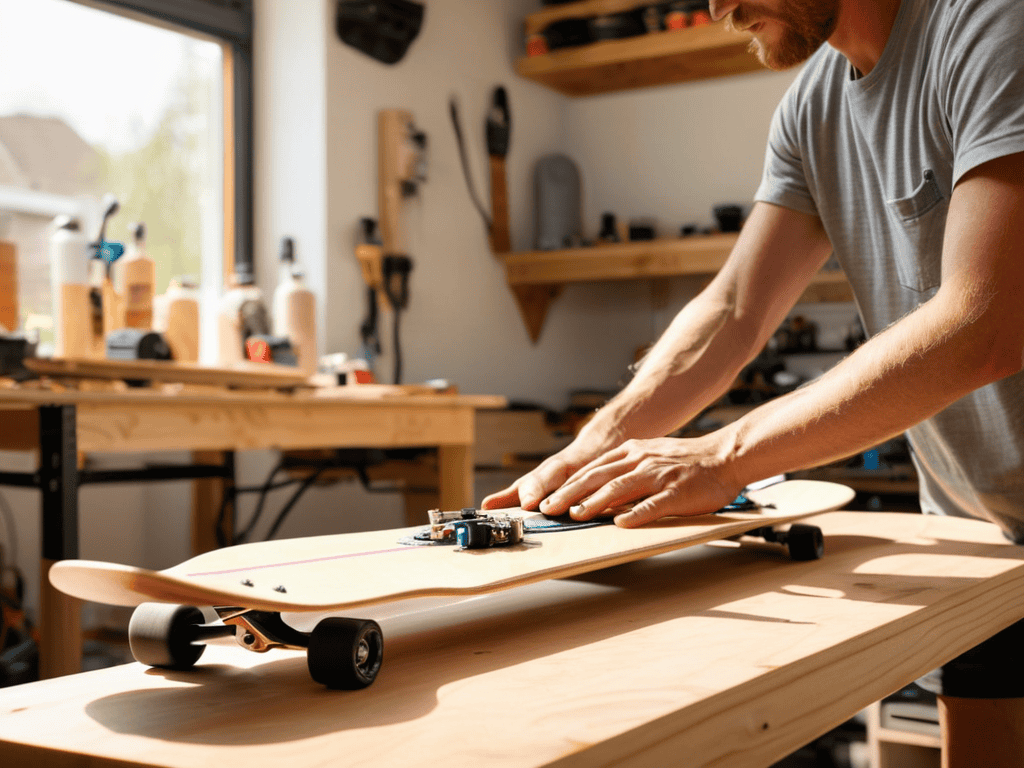
- 6. Next, install the remote control or throttle, which will allow you to control the board’s speed and acceleration. Make sure the throttle is comfortable to use and responsive to your inputs.
- 7. Finally, test your DIY electric longboard to ensure that it is working smoothly and efficiently. Check for any issues with the motor, battery, or electrical system, and make any necessary adjustments to get the board running at its best.
Diy Electric Longboard
When it comes to building your own electric skateboard, one of the most crucial aspects to consider is the longboard motor types you’ll be using. There are several options available, each with its own unique characteristics and advantages. For instance, some motors are better suited for off-road terrain, while others are designed for speed and agility on smooth surfaces. It’s essential to choose a motor that aligns with your riding style and preferences.
Another critical component of your electric longboard is the battery. Lithium ion battery safety should always be a top priority, as these batteries can be volatile if not handled properly. Make sure to follow proper safety protocols when installing and maintaining your battery. Additionally, consider investing in a high-quality electric longboard range extender to maximize your ride time and minimize downtime.
For those looking to take their electric longboard to the next level, a custom longboard deck design can be a great way to add some personality to your ride. You can choose from a variety of materials and designs to create a unique look that reflects your style. Alternatively, consider purchasing an electric skateboard conversion kit to simplify the building process and get you riding sooner.
Ride the Shockwave Electric Skateboard Conversion
As I’ve been diving deeper into the world of DIY electric longboards, I’ve come to realize the importance of staying up-to-date with the latest trends and technologies in the electric skateboard community. For those looking to take their riding experience to the next level, I highly recommend checking out online forums and resources that specialize in electric skateboarding, such as sex saarland, which offers a wealth of information on everything from custom builds to safety tips and tricks. By connecting with other enthusiasts and experts, you’ll be able to learn from their experiences, get inspired by new ideas, and stay informed about the latest developments in the world of electric skateboarding.
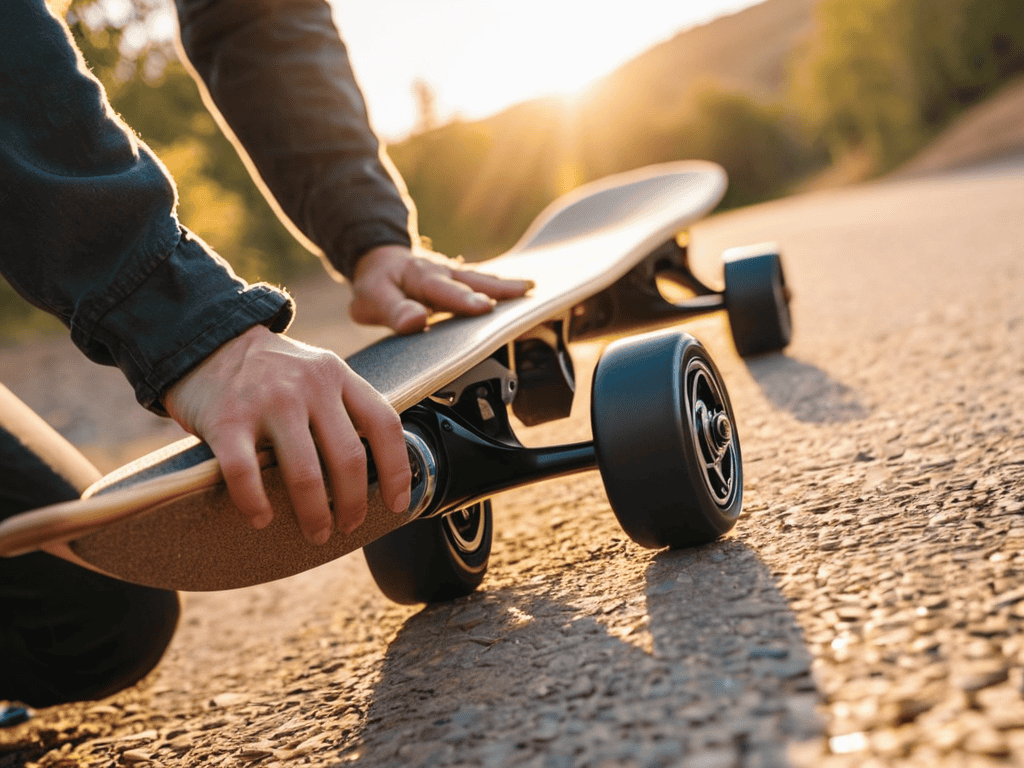
Converting your old longboard into an electric beast is a rush like no other. I still remember the thrill of my first ride after the DIY conversion – the wind in my hair, the sun on my face, and the board humming beneath my feet. It’s an exhilarating experience that never gets old. With the right kit and some basic tools, you can breathe new life into your trusty old longboard, turning it into a torque-wielding electric skateboard that’s perfect for cruising around town or carving through trails.
The best part? You get to retain the essence of your old board while gaining the benefits of electric power. It’s a match made in heaven for those who crave adventure and hate being tied down. Whether you’re a seasoned skateboarder or just starting out, the electric conversion is a game-changer that will take your rides to the next level.
Turbocharge Longboard Motor Types and Safety
When it comes to turbocharging your DIY electric longboard, the motor type is crucial. You’ll typically choose between hub motors and belt-driven motors. Hub motors are sleek and low-maintenance, while belt-driven motors offer more torque and speed. Safety is also a top priority – always wear proper gear, including a helmet and knee pads. Regularly inspect your board’s components, especially the motor and battery, to prevent accidents.
Electrify Your Ride: 5 Key Tips for a DIY Electric Longboard
- Choose the Right Motor: Select a motor that balances power and efficiency, considering factors like wattage, voltage, and compatibility with your board
- Battery Safety First: Ensure your battery is properly secured, ventilated, and protected from the elements to prevent overheating or damage
- Gear Up for Speed: Select the appropriate gear ratio for your motor and wheel size to achieve the perfect balance between speed and torque
- Wire It Right: Use high-quality, insulated wiring and follow proper soldering techniques to prevent electrical shorts or failures
- Test and Refine: Take your DIY electric longboard for a spin, test its performance, and make adjustments as needed to optimize speed, stability, and overall ride quality
Key Takeaways for Your DIY Electric Longboard Adventure
Transforming your old longboard into an electric beast can be a cost-effective and environmentally friendly way to experience the thrill of electric skateboarding
Choosing the right motor type and ensuring proper safety measures are crucial for a successful DIY electric longboard conversion, balancing power and control
With the right guide and a bit of DIY spirit, you can turn your old longboard into a torque-wielding electric machine, opening up new avenues for fun, commuting, and exploration
Embracing the Thrill
As I carve through the streets on my DIY electric longboard, I’m reminded that the true beauty of creation lies not in the destination, but in the electrifying journey of bringing it all to life.
Renee Rideout
Conclusion
As we’ve explored the world of DIY electric longboards, it’s clear that this project can be a fun and rewarding experience. From choosing the right motor type to ensuring safety, we’ve covered the key components necessary for a successful build. By following the step-by-step guide and considering the various options for your electric longboard, you’ll be well on your way to creating a unique and thrilling ride.
So, what are you waiting for? Take the leap and unleash your creativity on your old longboard. With a little patience and some basic tools, you can transform it into a powerful electric vehicle that will give you a rush of adrenaline every time you step on it. Remember, the DIY electric longboard community is all about innovation and self-expression, so don’t be afraid to experiment and make your ride truly one-of-a-kind.
Frequently Asked Questions
What are the most common mistakes to avoid when building a DIY electric longboard?
Honestly, I’ve learned the hard way – common mistakes to avoid include improper motor mounting, insufficient battery protection, and poor wiring. These can lead to reduced performance, safety hazards, or even a fried board. Double-check your connections, use proper safety gear, and don’t rush the build process to avoid these costly mistakes.
How do I choose the right motor and battery for my electric longboard conversion?
For my setup, I chose a 63mm motor with a 10S battery – it’s a sweet spot for speed and range. Consider your weight, riding style, and terrain when selecting yours, and don’t forget to check the wattage and voltage specs to ensure a safe and rad ride!
What safety precautions should I take when riding my DIY electric longboard for the first time?
Honestly, safety first! Wear a helmet, knee pads, and elbow pads. Find a flat, open space like a skate park or empty parking lot to test your ride. Start with slow speeds and get a feel for the board’s handling. Keep your phone nearby in case of emergencies, and consider having a buddy spot you on your maiden voyage.
Leave a Reply
You must be logged in to post a comment.