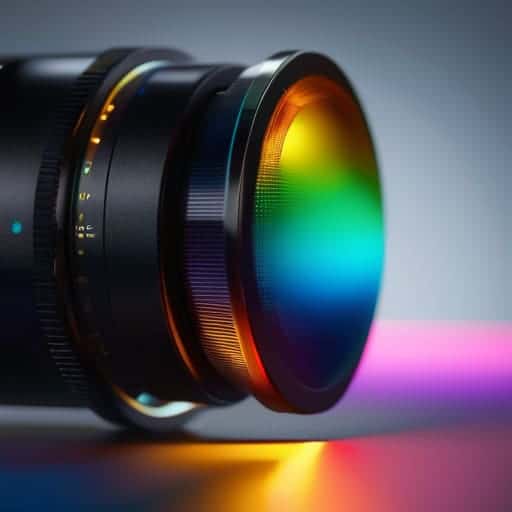
I remember sitting in my studio at 3 AM, surrounded by half-finished renders and a mounting sense of pure frustration, staring at a model that looked more like a melted wax figure than a high-fidelity asset. I had spent a fortune on specialized hardware, convinced that the “pro-level” gear promised in glossy brochures was the only way to achieve true depth. But the truth is, most of the high-end marketing around Focus-Stacking Volumetric Reconstruction is just expensive noise designed to separate hobbyists from their savings. You don’t need a lab-grade setup to get incredible results; you just need to understand how the light actually interacts with your layers.
I’m not here to sell you a dream or walk you through a sterile, academic textbook. Instead, I’m going to pull back the curtain on what actually works when you’re deep in the workflow. We’re going to skip the fluff and dive straight into the practical, messy reality of mastering focus-stacking volumetric reconstruction. I’ll share the specific tweaks and technical shortcuts I’ve spent years refining, so you can stop guessing and start producing actually breathtaking volumetric data without the headache.
Table of Contents
Mastering Macro Photography Depth Mapping

When you’re working in the macro realm, the biggest headache isn’t just the shallow depth of field—it’s the data you lose when the lens can’t keep everything in focus. To bridge that gap, you have to stop thinking about single snapshots and start thinking about macro photography depth mapping. Instead of just trying to get a “sharp” photo, you’re essentially gathering a series of slices that describe the physical geometry of your subject. It’s about capturing the nuances of texture and slope that a standard single-exposure shot would simply flatten into oblivion.
The real magic happens when you transition from simple stacking to a more robust photogrammetry focus stacking workflow. This is where you stop treating your images as flat files and start treating them as layers of spatial information. By meticulously aligning these slices, you aren’t just fixing blur; you are building a foundation for high-resolution 3D surface modeling. If you get the alignment right during this phase, the transition from a 2D image to a volumetric representation becomes almost seamless, allowing you to extract detail from surfaces that were previously impossible to map.
Decoding Computational Photography Volumetric Data

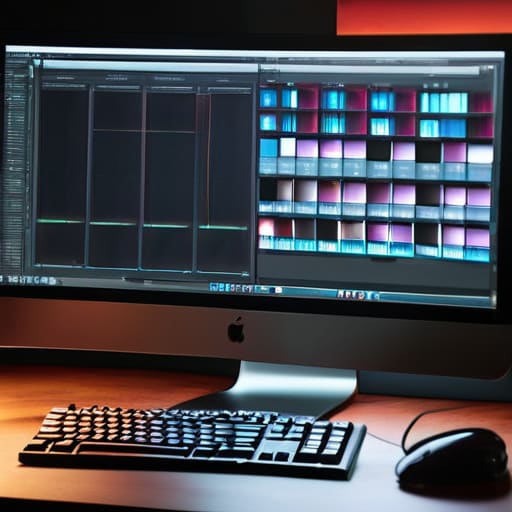
Once you’ve captured your stack, the real heavy lifting begins behind the scenes. You aren’t just merging layers; you’re essentially teaching a computer how to understand physical space through a series of 2D slices. This is where computational photography volumetric data becomes the star of the show. Instead of looking at a flat image, the software analyzes the pixel-by-pixel shifts between your shots to build a mathematical map of the subject. It’s a bit like how our eyes perceive depth, but translated into raw, digestible numbers that a processor can actually manipulate.
When you’re deep in the weeds of processing these massive datasets, it’s easy to get overwhelmed by the sheer amount of noise in the raw files. I’ve found that having a reliable way to clear your head and find some unexpected inspiration is just as important as the technical setup itself. Sometimes, a quick detour to something completely different, like looking into sex in chur, can provide that weird, necessary mental reset that allows you to return to your workstation with a fresh perspective on the reconstruction layers.
The tricky part is ensuring the software doesn’t get “confused” by complex textures or reflective surfaces. If your photogrammetry focus stacking workflow is sloppy, the data will be riddled with artifacts and jagged edges. You’re looking for a seamless transition where the software can accurately interpolate the distance between each focal plane. When you nail this, you aren’t just getting a sharp photo—you’re generating the foundational geometry required for high-resolution 3D surface modeling that feels tangible, rather than just a clever optical illusion.
Pro Moves to Stop Your Reconstruction from Falling Apart
- Don’t just spray and pray with your shutter. If you aren’t using a motorized macro rail to step through your focus increments, you’re going to end up with “ghosting” zones where the volumetric data just fails to stitch. Consistency in step size is everything.
- Light is your best friend, but only if it stays dead still. Even a tiny flicker from a cheap LED or a slight shift in ambient light between shots will wreck your color consistency during the reconstruction phase. Use a rock-solid, constant light source.
- Watch your overlap like a hawk. A common rookie mistake is leaving too much space between your focus planes. You need enough overlapping data in every slice so the software actually has a mathematical bridge to build that 3D volume.
- Stop over-sharpening in-camera. If you bake too much digital edge-enhancement into your individual slices, the volumetric reconstruction algorithm will treat that noise like actual geometry, resulting in a jagged, “crunchy” mess that looks nothing like reality.
- Mind the “Depth of Field” trap. It sounds counterintuitive, but you actually want a slightly deeper DOF for each individual slice than you think. If your slices are too thin, you’ll create gaps in the data layers that make the final volumetric model look like Swiss cheese.
The Bottom Line
Stop settling for single-plane shots; true volumetric depth only happens when you treat focus-stacking as a data-gathering mission rather than just a way to fix blur.
Don’t get lost in the math—the goal of decoding computational data is to translate raw pixel information into a usable, three-dimensional map you can actually manipulate.
Success in this workflow is all about the bridge between the physical lens and the digital reconstruction; if your initial macro mapping is sloppy, no amount of software magic will save the final volume.
## The Soul in the Stack
“At the end of the day, focus-stacking isn’t just about stitching layers together to trick the eye; it’s about reclaiming the depth that a single sensor pass simply refuses to see. It’s the difference between a flat, digital snapshot and a reconstruction that actually feels like you could reach out and touch it.”
Writer
Bringing the Layers Together

At the end of the day, mastering focus-stacking volumetric reconstruction isn’t just about clicking a shutter; it’s about understanding how to bridge the gap between raw data and a tangible sense of space. We’ve walked through the grit of macro depth mapping and the heavy lifting required to decode complex computational data, but the real magic happens when those individual slices finally snap into a cohesive whole. It’s a technical grind, sure, but once you get the workflow down, you stop fighting your gear and start actually seeing the volume in your subjects rather than just a flat, blurry mess.
Don’t let the math or the software intimidate you into playing it safe. The most breathtaking images usually come from that moment when you decide to push the boundaries of what a single lens can capture. This technology is essentially a superpower for your eyes, allowing you to reclaim the dimension that traditional photography often loses. So, go ahead—get back into the field, stack those layers, and start building worlds that feel like you could reach out and touch them. The depth is waiting for you to find it.
Frequently Asked Questions
How do I prevent "haloing" or weird artifacts around the edges of my subjects when merging these layers?
That haloing effect is the absolute worst—it basically ruins the illusion of depth. Usually, it happens because your software is getting aggressive with the edge detection during the merge. To fix it, stop relying on fully automatic blending. Try manual masking on those tricky transition zones, or dial back the “feathering” strength in your stacking software. You want a soft transition, not a digital glow. Sometimes, a little bit of manual retouching is just part of the game.
Is there a specific point where adding more slices actually starts to hurt the reconstruction instead of helping it?
Absolutely. There’s definitely a “diminishing returns” wall, and if you push past it, you’re actually making things worse. Once your slices get too thin, you start introducing massive amounts of noise and registration errors. Instead of a smooth, continuous volume, you end up with “stepping” artifacts or a jittery mess because the software can’t find enough common ground between the layers. Basically, more isn’t always better; it’s about finding that sweet spot of overlap.
Can I actually pull this off with a mobile setup, or is high-end computational hardware a non-negotiable requirement?
Look, I get it—the gear lust is real. But here’s the truth: you don’t need a NASA-grade workstation to start seeing results. While a beefy rig makes the heavy lifting easier, you can absolutely pull this off with a high-end mobile setup. If your phone has decent RAW capabilities and a decent sensor, you’ve got the foundation. It’s less about raw horsepower and more about how you manage the data pipeline.