I still remember the first time I made my own Christmas ornaments – it was a magical experience that brought out the kid in me. I was skeptical at first, thinking that creating my own decorations would be a tedious and time-consuming task, but it turned out to be a fun and rewarding experience. That’s why I’m excited to share with you a guide to making homemade Christmas ornaments, a journey that will help you unleash your creativity and add a personal touch to your holiday decor. As I delved deeper into the world of DIY ornaments, I realized that it’s not just about creating something beautiful, but also about making memories with loved ones.
In this article, I promise to share with you practical tips and honest advice on how to create your own unique Christmas ornaments. You’ll learn how to turn ordinary materials into extraordinary decorations, and how to make the most of your holiday crafting experience. Whether you’re a seasoned crafter or a beginner, this guide will walk you through the process of making homemade Christmas ornaments that will make your holiday season truly special. So, let’s get started and explore the world of DIY ornaments together!
Table of Contents
- Guide Overview: What You'll Need
- Step-by-Step Instructions
- A Guide to Making Homemade Christmas Ornaments
- Handmade Ornament Ideas for Kids With Natural Materials
- Recycled Material Crafts for Unique Christmas Decor
- Sparkling Success: 5 Essential Tips for Making Homemade Christmas Ornaments
- Key Takeaways for a Joyful Crafting Experience
- Spreading Joy One Ornament at a Time
- Spreading Joy, One Ornament at a Time
- Frequently Asked Questions
Guide Overview: What You'll Need
Total Time: 1 hour 30 minutes
Estimated Cost: $10 – $30
Difficulty Level: Easy
Tools Required
- Scissors (sharp)
- Glue Gun (with extra glue sticks)
- Paintbrushes (various sizes)
- Craft Knife (with extra blades)
Supplies & Materials
- Glass Balls (various sizes)
- Ceramic Paint (various colors)
- Glitter (various colors)
- Ribbon (for hanging)
- Styrofoam Balls (for a more rustic look)
- Decorative Items (such as sequins, beads, or stickers)
Step-by-Step Instructions
- 1. First, gather all the necessary materials to get started on your homemade Christmas ornament journey, including paper, glue, scissors, and paint. You’ll also need some string or twine to hang your masterpieces, so make sure to have those on hand as well.
- 2. Next, decide on the type of ornament you want to create – will it be a classic ball shape or something more intricate like a snowflake? This will help you determine the best materials to use and the level of complexity you’re comfortable with. Take some time to browse through inspiration online or in books to get those creative juices flowing.
- 3. Now it’s time to get crafty and start making your ornament base – for a paper ornament, you can use a template or stencil to draw the shape onto your paper, or simply freehand it if you’re feeling confident. Cut out your shape carefully, making sure to stay within the lines as much as possible.
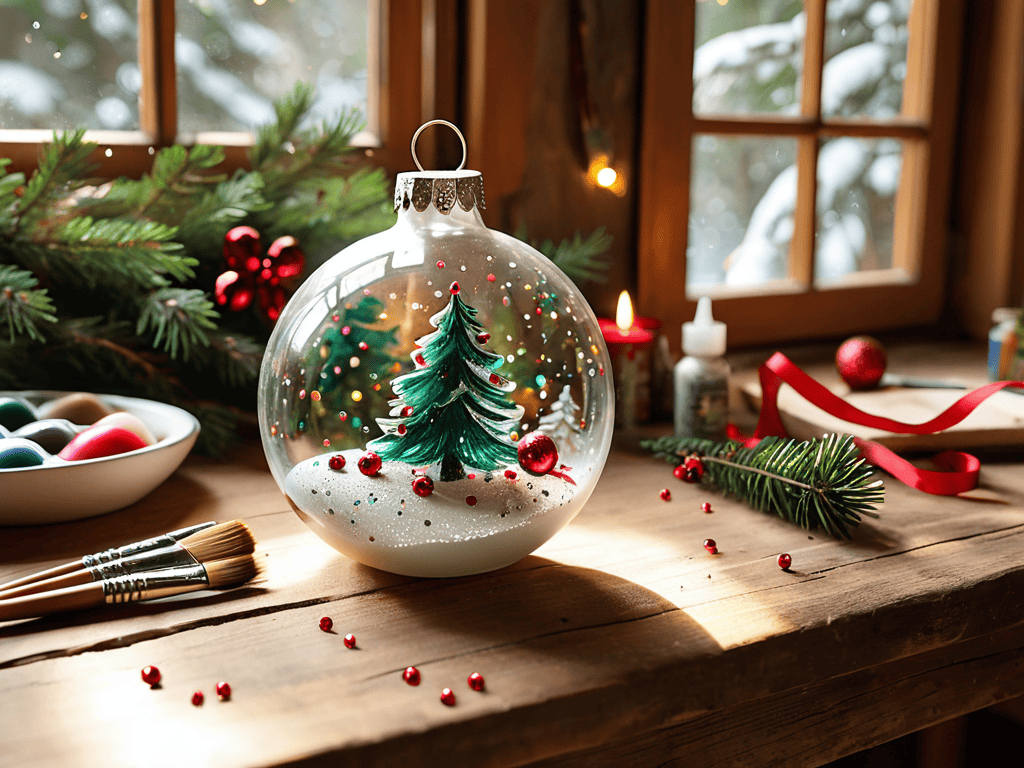
- 4. With your ornament base ready, it’s time to add some decoration – this is where you can really let your personality shine through. Use bright, bold colors and fun patterns to make your ornament stand out, or opt for a more subdued look if that’s your style. Paint, markers, and even glitter are all great options for adding some visual interest.
- 5. Once your decorations are dry, it’s time to add a finishing touch – a coat of varnish or sealant will help protect your ornament from the elements and make it last longer. Apply a thin layer using a brush, making sure to cover the entire surface evenly and smoothly.
- 6. Now that your ornament is complete, it’s time to add the final touch – a loop of string or twine to hang it from the tree. Use a strong adhesive like hot glue to attach the string to the top of the ornament, making sure it’s secure and won’t come loose over time.
- 7. Finally, take a step back and admire your handiwork – you’ve created a one-of-a-kind, truly unique Christmas ornament that reflects your personal style and flair. Be proud of yourself for taking the time to make something special, and enjoy the sense of accomplishment that comes with creating something with your own two hands.
A Guide to Making Homemade Christmas Ornaments
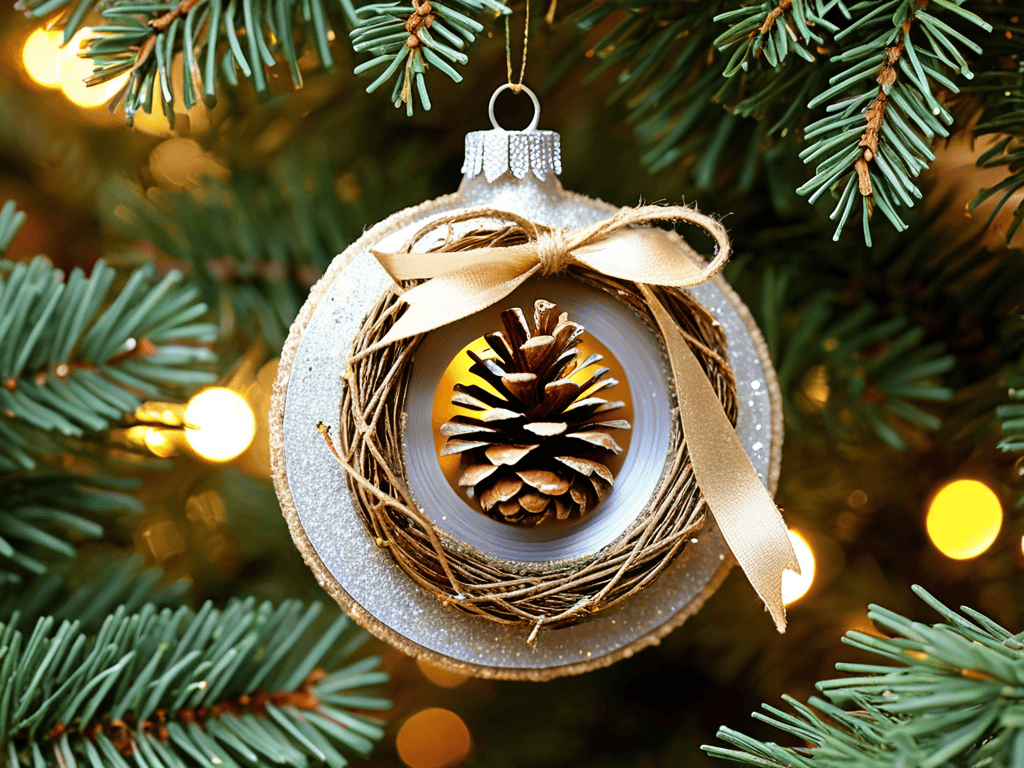
As you explore the world of handmade ornament ideas for kids, remember to encourage their creativity and imagination. Using natural materials for Christmas decorations, such as pinecones, twigs, and ribbons, can add a charming touch to your homemade ornaments. You can also try recycled material ornament crafts, like transforming old CDs into shiny, glittery decorations.
When it comes to creating unique ornaments, consider ornament making with fabric and glue. This technique allows you to experiment with different textures and patterns, resulting in one-of-a-kind pieces. For a more personalized touch, you can add unique gift tag ideas for Christmas presents to your ornaments, making them special and thoughtful gifts for loved ones.
To keep your homemade ornaments organized and protected, think about diy ornament storage solutions. You can use decorative boxes, baskets, or even repurposed containers to store your precious creations. By doing so, you’ll be able to enjoy your handmade ornaments for years to come, and they’ll remain a cherished part of your holiday traditions.
Handmade Ornament Ideas for Kids With Natural Materials
As you’re getting into the holiday spirit and creating your own unique Christmas ornaments, don’t forget to think about the overall aesthetic you want to achieve in your home. For a truly magical atmosphere, consider exploring different lighting options and decor ideas that can complement your handmade ornaments. If you’re looking for some inspiration, you can find a wealth of information online, such as tips on decorating your home for the holidays or even finding special events in your area, like visiting sextreffen stuttgart for a fun night out, to get you in the mood for celebrating.
Handmade Ornament Ideas for Kids with Natural Materials
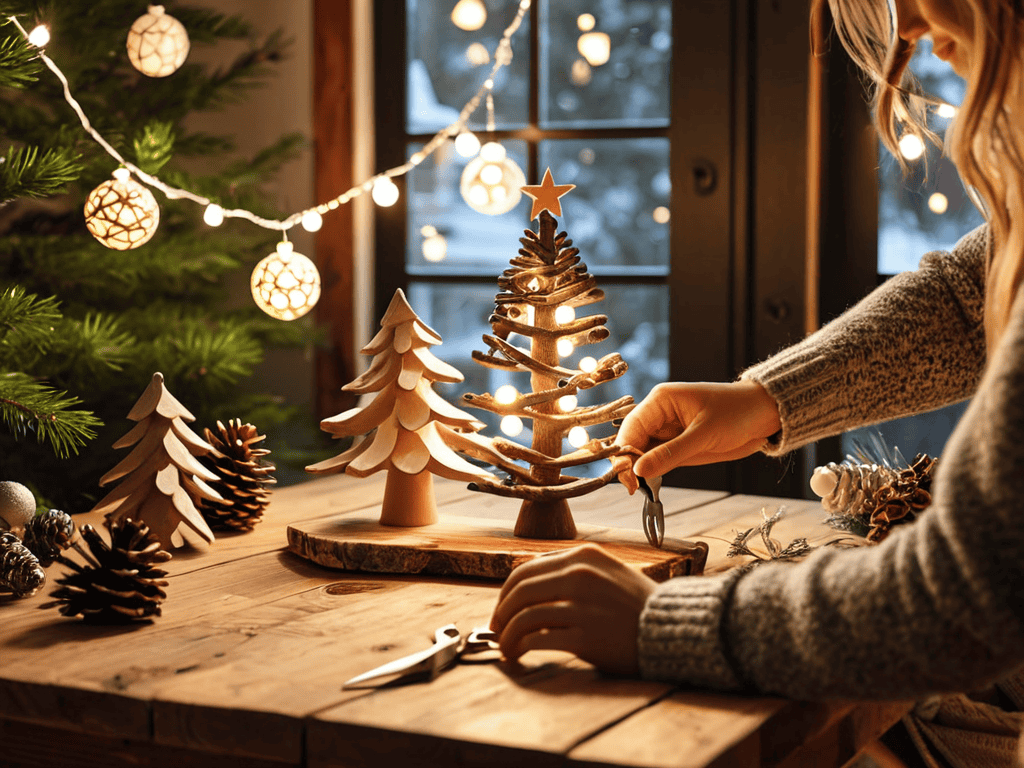
Let’s get the kids involved in the festive fun. Using natural materials like pinecones, twigs, and dried leaves, they can create unique and earthy ornaments. Simply gather the materials, add some glue and string, and let their creativity shine. They can make pinecone birds, twig wreaths, or leaf garlands to hang on the tree.
These natural ornaments not only add a personal touch to the tree but also teach kids about the importance of recycling and reusing natural materials. With a little imagination, they can turn ordinary items into extraordinary decorations, making the holiday season even more special and memorable.
Recycled Material Crafts for Unique Christmas Decor
Get creative with recycled materials to craft one-of-a-kind Christmas ornaments. Transform old CDs into shiny ornaments, or turn cardboard tubes into adorable snowmen. You can also use recycled paper to create beautiful snowflakes or decoupage vintage music sheets onto glass balls for a unique look.
Repurpose old jars, filling them with evergreen branches, pinecones, and ribbons to create charming miniature winter scenes. With a little imagination, you can turn discarded items into stunning, eco-friendly Christmas decorations that add a personal touch to your holiday decor.
Sparkling Success: 5 Essential Tips for Making Homemade Christmas Ornaments
- Choose materials that resonate with your personal style, from vintage lace to natural elements like pinecones and twigs, to create one-of-a-kind ornaments
- Experiment with different shapes, sizes, and textures to add depth and visual interest to your Christmas tree or holiday display
- Involve the whole family in the crafting process, making it a fun and memorable annual tradition that fosters creativity and togetherness
- Consider upcycling or repurposing old items, like jar lids, CD disks, or cardboard tubes, to create unique and eco-friendly ornaments
- Don’t be afraid to make mistakes – they can often lead to new and exciting design ideas, and the imperfections can add character to your handmade ornaments
Key Takeaways for a Joyful Crafting Experience
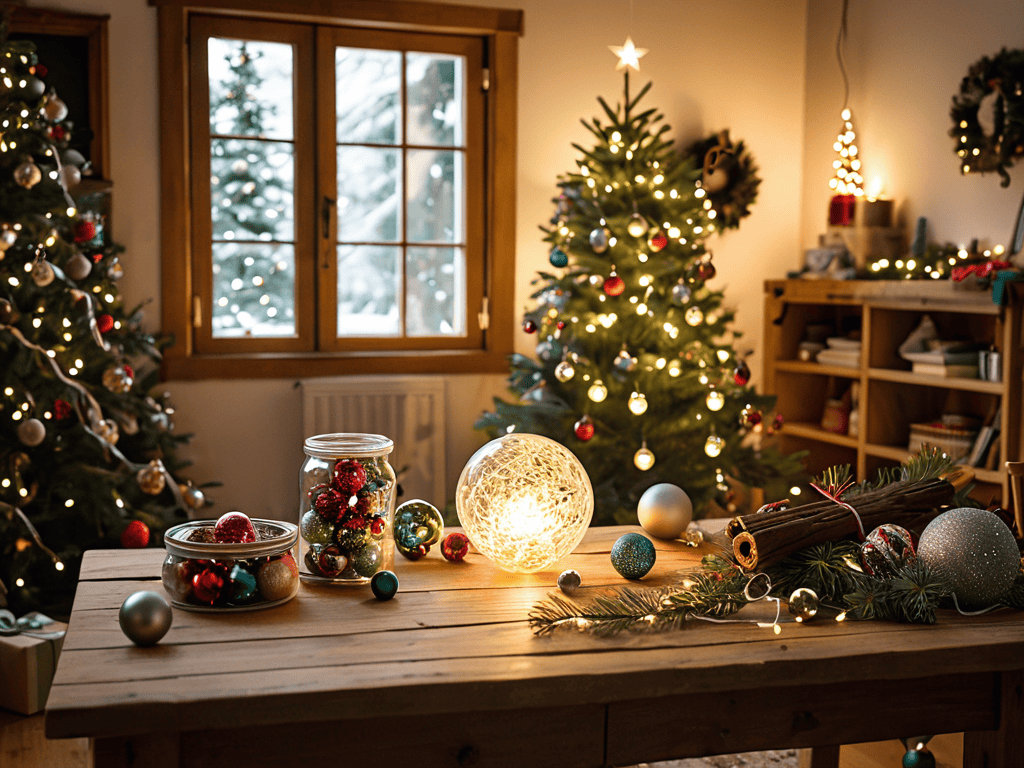
With a little creativity, you can transform everyday materials into one-of-a-kind Christmas ornaments that reflect your personal style and add a touch of warmth to your home
Involving kids in the ornament-making process not only fosters their creativity but also creates lasting memories and a sense of accomplishment
Repurposing recycled materials for your Christmas decorations is a great way to reduce waste, get crafty, and infuse your holiday season with a sense of eco-friendly cheer
Spreading Joy One Ornament at a Time
As we craft our own homemade Christmas ornaments, we weave not just threads and glue, but memories and love, into the very fabric of our holiday traditions.
Emily J. Miller
Spreading Joy, One Ornament at a Time
As we’ve explored the world of homemade Christmas ornaments, it’s clear that the process of creating them is just as meaningful as the end result. From handmade ornament ideas for kids that incorporate natural materials, to recycled material crafts that breathe new life into old items, the possibilities are endless. By embracing the DIY spirit, we not only create unique and personalized decorations, but also foster a sense of community and togetherness. Whether you’re a seasoned crafter or a beginner, the act of making something with your own hands can be incredibly fulfilling.
So as you hang your finished ornaments on the tree, remember that the true magic of the season lies in the love and effort you’ve put into each and every one. Don’t be afraid to experiment, try new things, and make mistakes – it’s all part of the creative journey. And when the holidays are over, and the ornaments are packed away, hold onto the feeling of joy and accomplishment that comes with creating something truly special. For in the end, it’s not just about the ornaments, but about the memories and traditions we create along the way.
Frequently Asked Questions
What are some easy and safe materials for kids to use when making homemade Christmas ornaments?
For a fun and worry-free crafting experience, kids can use materials like felt, glue, scissors, and paint. Natural elements like pinecones, leaves, and twigs are also great options. Recycled materials like old CDs, cardboard, and newspaper can add a creative twist. These materials are easy to work with and safe for little hands.
How can I preserve and store my homemade ornaments to make them last for years to come?
To keep your handmade treasures safe, store them in a cool, dry place, away from direct sunlight. Consider using acid-free tissue paper or bubble wrap to cushion each ornament, and place them in a sturdy container or box. This will help preserve their magic for years to come!
What are some creative ways to personalize and customize my homemade Christmas ornaments with names, dates, or special messages?
Add a personal touch with paint, markers, or decoupage – you can monogram, add the year, or a special message to make each ornament truly one-of-a-kind and meaningful.
Leave a Reply
You must be logged in to post a comment.