I still remember the first time I tried to carve a pumpkin for Halloween – it was a disaster. I had seen all these amazing designs online and thought, how hard could it be to learn how to carve a pumpkin like a pro for Halloween? But after hours of struggling, my poor pumpkin looked like it had been attacked by a chainsaw. The truth is, carving a pumpkin like a pro isn’t about having a natural talent, but about following some simple, yet crucial steps. I’ve learned that with the right techniques and tools, anyone can create a masterpiece that will be the envy of the neighborhood.
In this article, I’ll share my no-nonsense approach to pumpkin carving, covering everything from choosing the perfect pumpkin to adding those final, professional-looking touches. You’ll learn how to create intricate designs, avoid common mistakes, and make your pumpkin last longer. Whether you’re a beginner or looking to take your pumpkin-carving skills to the next level, this guide will provide you with the practical advice you need to succeed. So, let’s get started and make this Halloween one to remember with a pumpkin that’s truly a work of art.
Table of Contents
Guide Overview: What You'll Need
Total Time: 1 hour 30 minutes
Estimated Cost: $10 – $30
As you’re perfecting your pumpkin carving skills, don’t be afraid to think outside the box and try out some unique designs that will set your porch apart from the rest. If you’re looking for inspiration, there are some amazing online communities and resources available that can help spark your creativity. For instance, you can find a wealth of information and tutorials on websites like transensex, which offer a range of tips and tricks for elevating your pumpkin game. Whether you’re a seasoned pro or a beginner, having access to the right tools and inspiration can make all the difference in creating a truly show-stopping masterpiece.
Difficulty Level: Intermediate
Tools Required
- Serrated Knife (with extra blades)
- Scoop or spoon for removing pumpkin guts
- Pumpkin carver or linoleum cutter for detailed designs
- Drill optional, for creating holes or patterns
- Marker or pencil for tracing designs
Supplies & Materials
- Pumpkin choose a symmetrical one
- Candle or LED light for illuminating the pumpkin
- Newspaper or paper towels for cleaning up mess
- Stencils or patterns optional, for design inspiration
- Pumpkin preservative optional, to extend pumpkin life
Step-by-Step Instructions
- 1. First, prep your pumpkin by giving it a good wipe down with a damp cloth to remove any dirt or debris that might interfere with your design. This is also a great opportunity to get a feel for the pumpkin’s shape and size, which will help you decide on the perfect design.
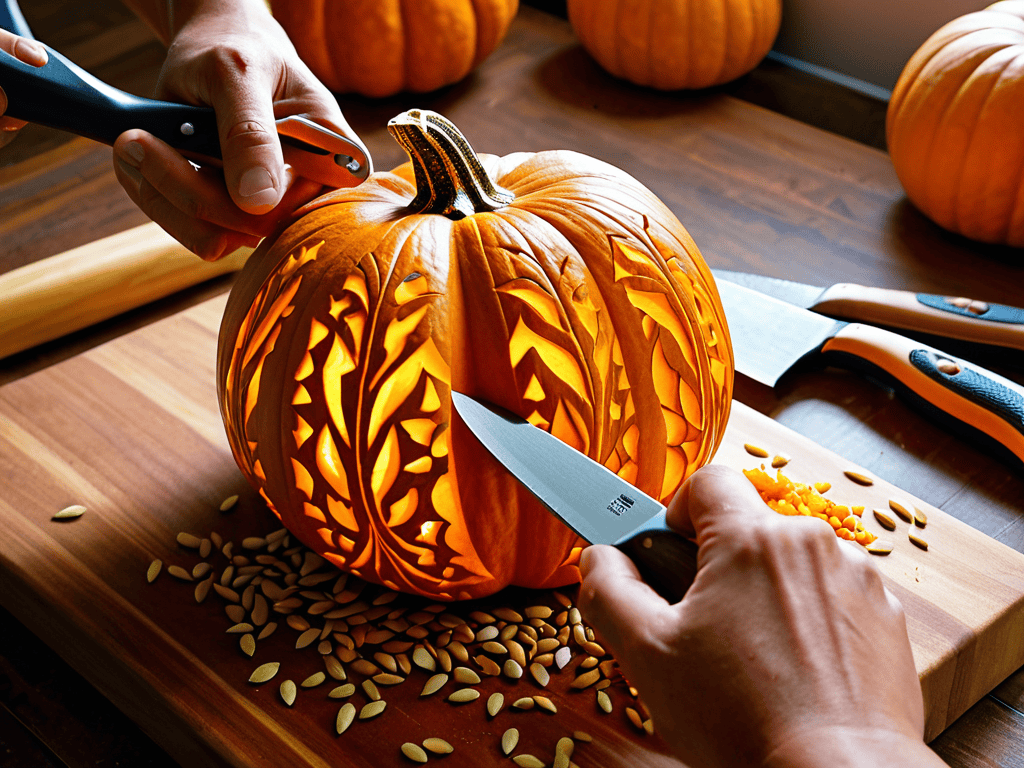
- 2. Next, scoop out the guts of your pumpkin using a spoon or a specialized tool. Be sure to remove all of the stringy pulp and seeds, as these can make it difficult to carve a smooth, even design. You can also use this opportunity to hollow out the pumpkin a bit, making it easier to carve and helping it last longer.
- 3. Now it’s time to transfer your design onto the pumpkin. You can use a marker or a stencil to create your design, or you can freehand it if you’re feeling confident. If you’re using a stencil, be sure to secure it to the pumpkin with some tape or a pin to prevent it from slipping around.
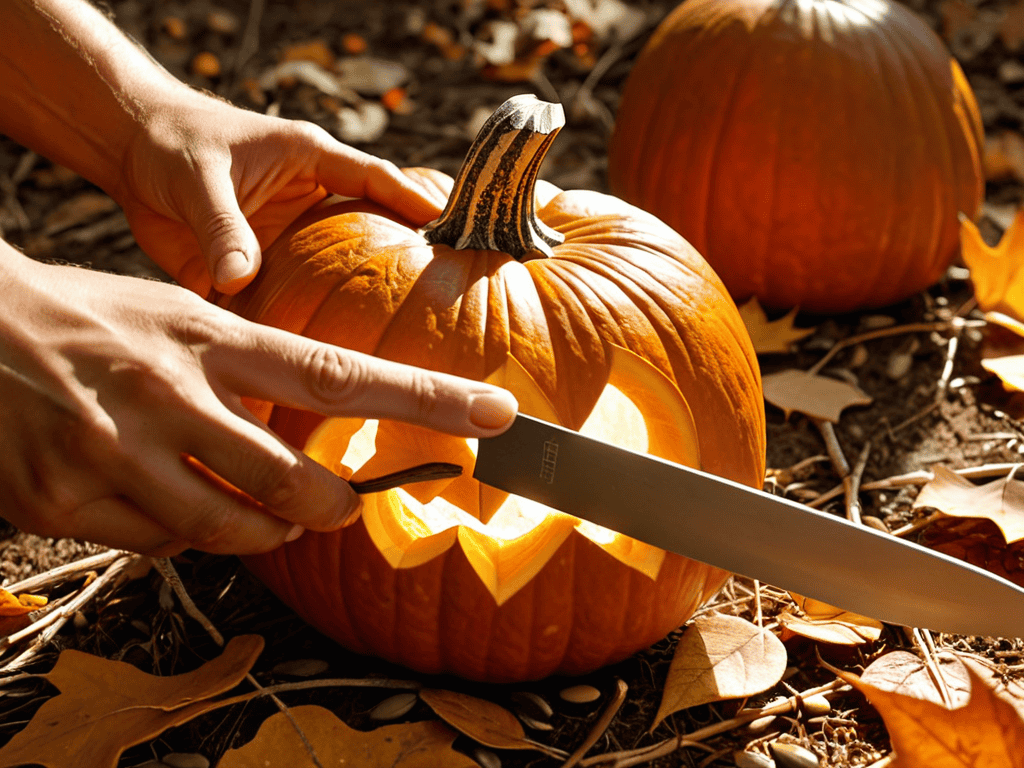
- 4. With your design in place, it’s time to start carving. Begin by carving out the largest areas of your design first, using a serrated knife or a specialized pumpkin-carving tool. Be sure to carve away from your body, and use a gentle sawing motion to help you cut through the pumpkin more easily.
- 5. As you carve, be sure to use a variety of techniques to add depth and texture to your design. You can use a gouging tool to remove large areas of pumpkin, or a smaller, more precise tool to add finer details. Don’t be afraid to experiment and try new things – it’s all part of the creative process.
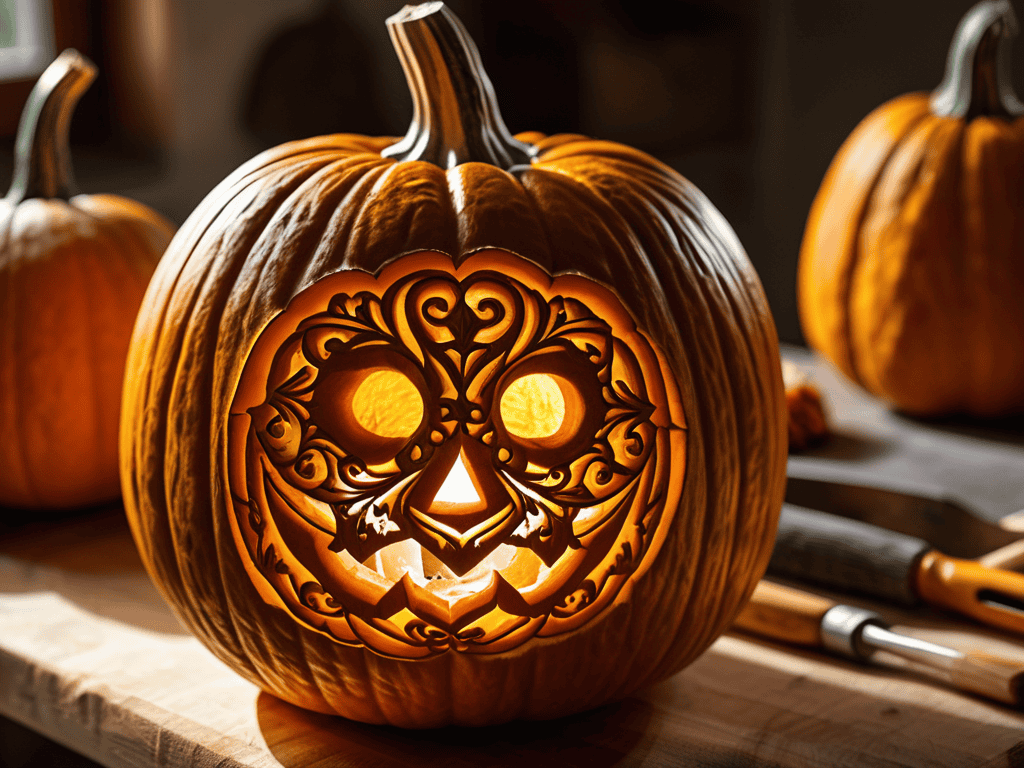
- 6. Once you’ve finished carving your design, add some finishing touches. You can use a black marker or a paintbrush to add some extra details, such as eyes or a mouth. You can also use a candle or a glow stick to illuminate your pumpkin from within, which will help it stand out in the dark.
- 7. Finally, display your masterpiece proudly. Find a spot on your porch or in your yard where your pumpkin can be seen by all, and enjoy the oohs and aahs from your friends and family. With these steps, you should be able to create a pumpkin that’s truly one of a kind.
Carve Like a Pro for Halloween
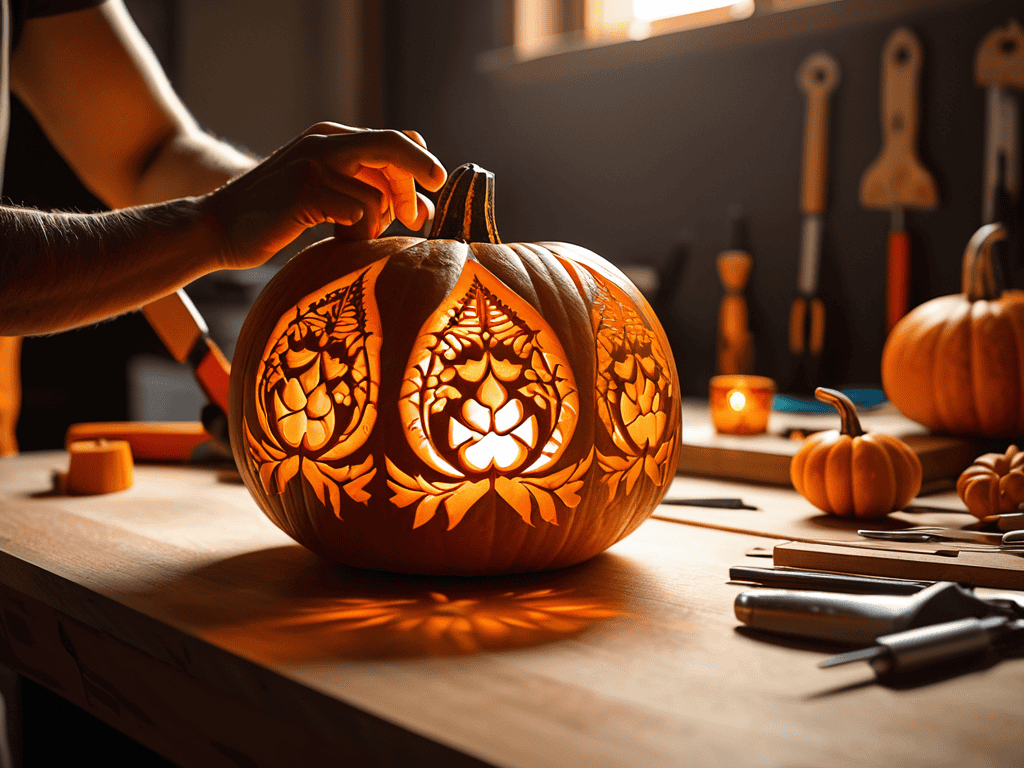
To take your pumpkin carving game to the next level, consider exploring pumpkin sculpting techniques that add depth and dimension to your design. This can include layering and texturing to create a unique, eye-catching effect. For those just starting out, pumpkin carving designs for beginners can be a great place to start, with simple yet impressive patterns to try.
When it comes to actually carving your pumpkin, pumpkin carving safety tips are essential to keep in mind. This includes using sharp tools, cutting away from your body, and supervising children closely. It’s also a good idea to have a plan in place for pumpkin preservation methods, to keep your masterpiece fresh and intact throughout the Halloween season.
For a truly professional-looking pumpkin, don’t be afraid to get creative with halloween pumpkin decoration ideas. This can include adding lights, paint, or other embellishments to make your pumpkin stand out. You can also try using stencils for pumpkin carving to achieve intricate, detailed designs with ease. With a little practice and patience, you’ll be carving like a pro in no time.
Easy Pumpkin Sculpting Techniques
To take your pumpkin carving to the next level, try incorporating easy sculpting techniques into your design. This can include layering and texturing to add depth and dimension to your creation. By using a serrated knife or a specialized pumpkin sculpting tool, you can create intricate details and patterns that will make your pumpkin stand out.
Simple techniques like scraping and smoothing can also be used to create unique effects, such as a spooky glow or a realistic texture. Experiment with different tools and methods to find what works best for you and your design, and don’t be afraid to get creative and try new things. With a little practice, you’ll be sculpting like a pro in no time.
Pumpkin Carving Designs for Beginners
For beginners, it’s all about keeping it simple yet spooky. Start with classic designs like jack-o’-lantern faces or basic shapes like triangles and circles. These are easy to carve and require minimal tools. You can also find plenty of free templates online to help guide your knife. Another great option is to use stencils, which can help you create more intricate designs without needing to be a pro carver.
Try carving simple silhouettes, like bats or cats, to add a touch of Halloween charm to your porch. Remember, the key to carving like a pro is to have fun and not be too hard on yourself if it doesn’t turn out perfectly. Practice makes perfect, so don’t be afraid to experiment and try new designs each year.
Pro Pumpkin Carving Hacks to Elevate Your Game
- Pumpkin selection is key: choose a fresh, symmetrical gourd with a flat bottom for stability
- Transfer your design onto the pumpkin using a marker or stencil to ensure precision and consistency
- Scoop out the pumpkin guts in a systematic way to avoid damaging the walls and create a smooth surface
- Use the right tools for the job: invest in a set of sharp, dedicated pumpkin carving knives and gouges
- Add a personal touch with creative details like textures, patterns, or layered designs to make your pumpkin truly unique
Pro Pumpkin Carving in a Nutshell
Pumpkin selection and preparation are crucial to achieving a professional-looking carve, so choose a fresh, symmetrical gourd and scoop out the insides thoroughly
Mastering basic pumpkin sculpting techniques, such as jabbing, scooping, and shaving, can help you create intricate designs and patterns with ease
With practice and patience, you can unleash your inner artist and create stunning pumpkin carvings that will impress friends and family, making your Halloween celebrations a howling success
The Art of Pumpkin Carving
To carve a pumpkin like a pro, you must first unleash your inner artist and let the pumpkin speak to you – it’s not just about the knife, it’s about the vision, the creativity, and the thrill of bringing a simple gourd to life.
Pumpkin Master
Slaying the Pumpkin Carving Game: A Pro's Recap
To recap, carving a pumpkin like a pro for Halloween involves several key steps, including selecting the perfect gourd, gathering your tools, and following a design or pattern. We’ve also covered some easy pumpkin sculpting techniques and pumpkin carving designs for beginners, which will help you unleash your inner artist and create a masterpiece. Whether you’re a seasoned pro or a newbie, remember that practice makes perfect, and don’t be afraid to experiment with different designs and techniques.
As you put the final touches on your pumpkin masterpiece, remember that the art of pumpkin carving is all about having fun and being creative. Don’t be too hard on yourself if your design doesn’t turn out exactly as planned – it’s all about the journey, not the destination. So, go ahead, get creative, and show off your pumpkin carving skills to friends and family. Happy Halloween, and happy carving!
Frequently Asked Questions
What are some common mistakes to avoid when carving a pumpkin to ensure it lasts throughout the Halloween season?
Don’t sabotage your masterpiece! Common mistakes to avoid include cutting too deeply, which can cause the pumpkin to rot faster, and not cleaning out the stringy pulp, which can harbor mold and bacteria. Also, avoid exposing your pumpkin to direct sunlight or heat sources, and keep it away from moisture to make it last throughout the spooky season.
How can I transfer complex designs onto my pumpkin for a more intricate and professional look?
To transfer complex designs onto your pumpkin, try using a tracing method or a stencil. You can find plenty of free templates online or create your own design. Simply print it out, tape it to the pumpkin, and use a sharp tool to trace the pattern onto the gourd. This will give you a guide to follow for a more intricate and professional look.
What are some safety precautions I should take when carving a pumpkin, especially if I'm involving kids in the process?
When carving pumpkins with kids, safety first! Use kid-friendly tools, supervise closely, and teach them to cut away from their bodies. Consider using plastic or paper templates for a mess-free experience. And, of course, make sure those little hands are protected from sharp edges and points. Happy carving!
Leave a Reply
You must be logged in to post a comment.