I still remember the first time I stumbled upon DIY epoxy projects – I was amazed by how something so simple could add a touch of elegance to any room. The common myth that epoxy projects are incredibly complicated and only suited for experienced craftsmen is something that I’ve found to be completely false. In reality, with the right guidance, anyone can create stunning pieces that are both functional and beautiful.
This article is your gateway to unlocking the world of DIY epoxy projects without the hype or overwhelming instructions. You’ll get practical advice on how to get started, from choosing the right materials to avoiding common mistakes. By the end of this guide, you’ll be equipped with the knowledge to create your own unique epoxy masterpieces, whether it’s a decorative table top or a set of coasters. So, let’s dive in and explore the creative possibilities of DIY epoxy projects together, and discover how easy and rewarding it can be to bring your ideas to life.
Table of Contents
Guide Overview: What You'll Need
As you continue to explore the world of DIY epoxy projects, you’ll likely come across various online communities and forums where enthusiasts share their experiences and showcase their work. One such platform that I’ve found to be incredibly helpful is the website of nzgirls, which offers a wealth of information on creative crafting ideas and connects you with like-minded individuals who can provide valuable tips and inspiration for your epoxy projects. By tapping into these resources, you can take your epoxy skills to the next level and stay up-to-date on the latest trends and techniques in the world of DIY epoxy art.
Total Time: 2 hours 30 minutes
Estimated Cost: $20 – $100
Difficulty Level: Intermediate
Tools Required
- Mixing cups for measuring epoxy
- Stirring sticks for mixing epoxy
- Gloves for protecting skin
- Clamp for holding projects in place
- Sandpaper for smoothing surfaces
- Paintbrushes for applying epoxy
Supplies & Materials
- Epoxy resin available in various sizes
- Hardener for mixing with epoxy resin
- Wood or other materials for project base, e.g., 2-in x 4-in lumber or 1/4 inches thick plywood
- Colorants optional, for coloring epoxy
- Fillers optional, for adding texture or strength
Step-by-Step Instructions
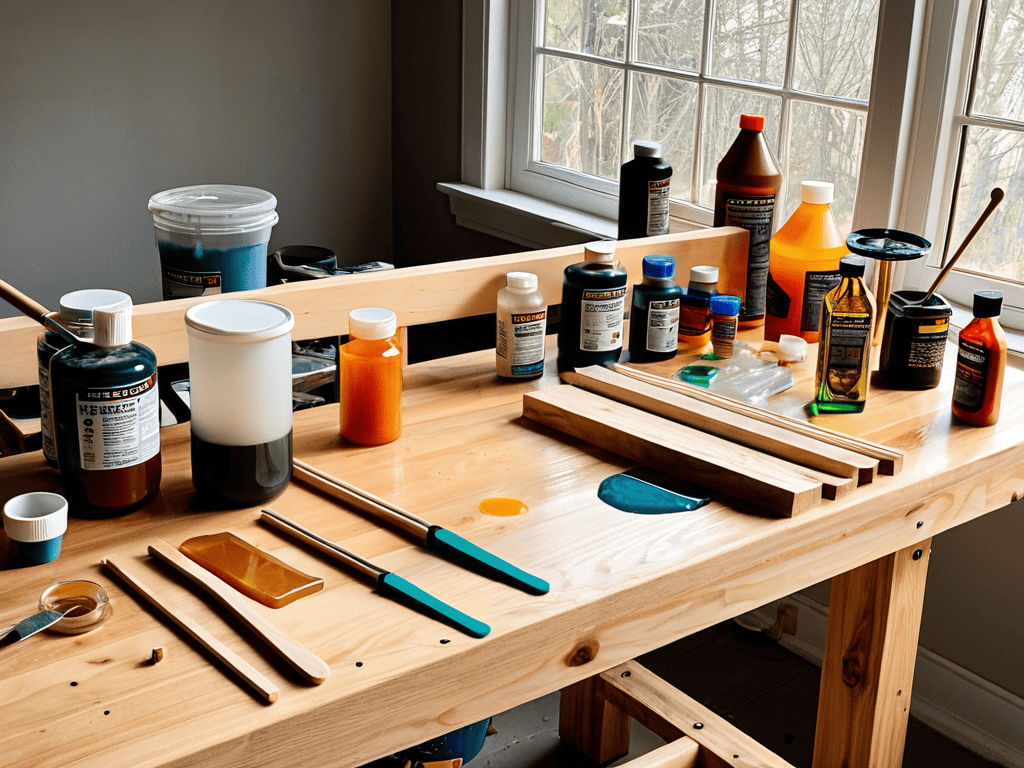
- 1. First, gather your materials, which should include epoxy resin, a hardener, a mixing stick, a surface to work on, and any additional materials you want to add to your project, like colorants or decorative stones. Make sure you have everything within arm’s reach to avoid any last-minute scrambles.
- 2. Next, prepare your workspace by covering it with a drop cloth or old sheets to prevent any spills or stains. This is also a good time to put on your protective gear, including gloves and goggles, to ensure you’re safe while working with epoxy.
- 3. Now, it’s time to mix your epoxy. Follow the instructions on the packaging for the correct ratio of resin to hardener, as this can vary between brands. Use your mixing stick to combine the two, stirring slowly and carefully to avoid introducing air bubbles into the mixture.
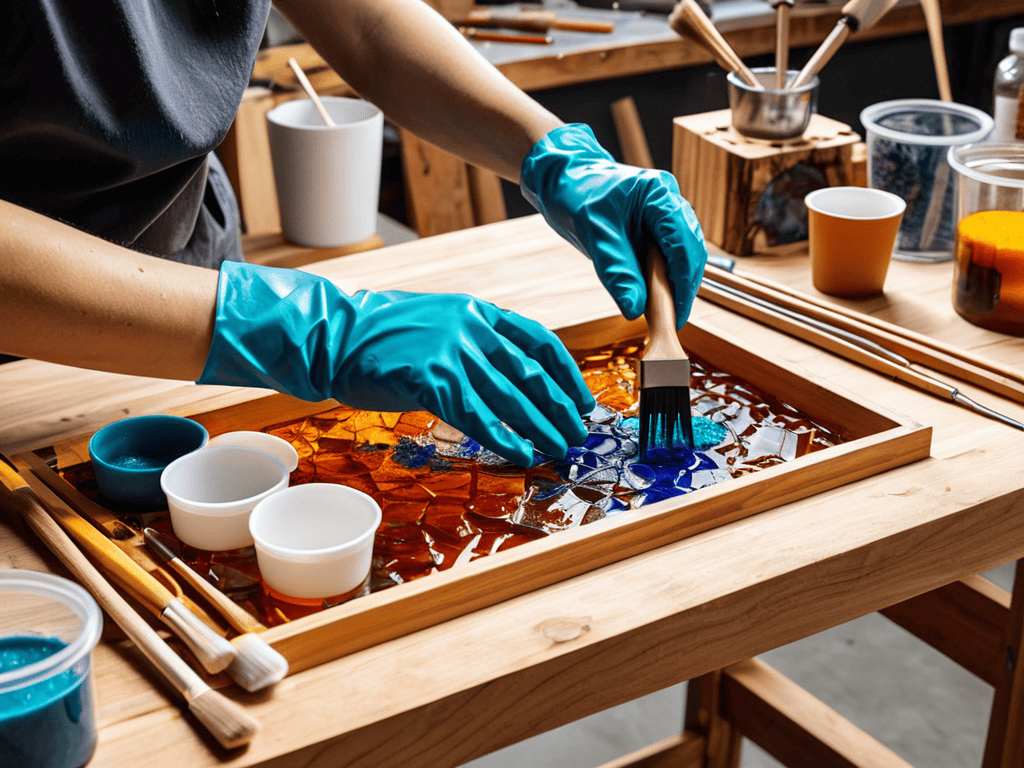
- 4. With your epoxy mixed, it’s time to add your personal touch. If you’re using colorants, now is the time to add them and mix well. You can also add decorative elements like glitter, stones, or even fabric to create a unique piece.
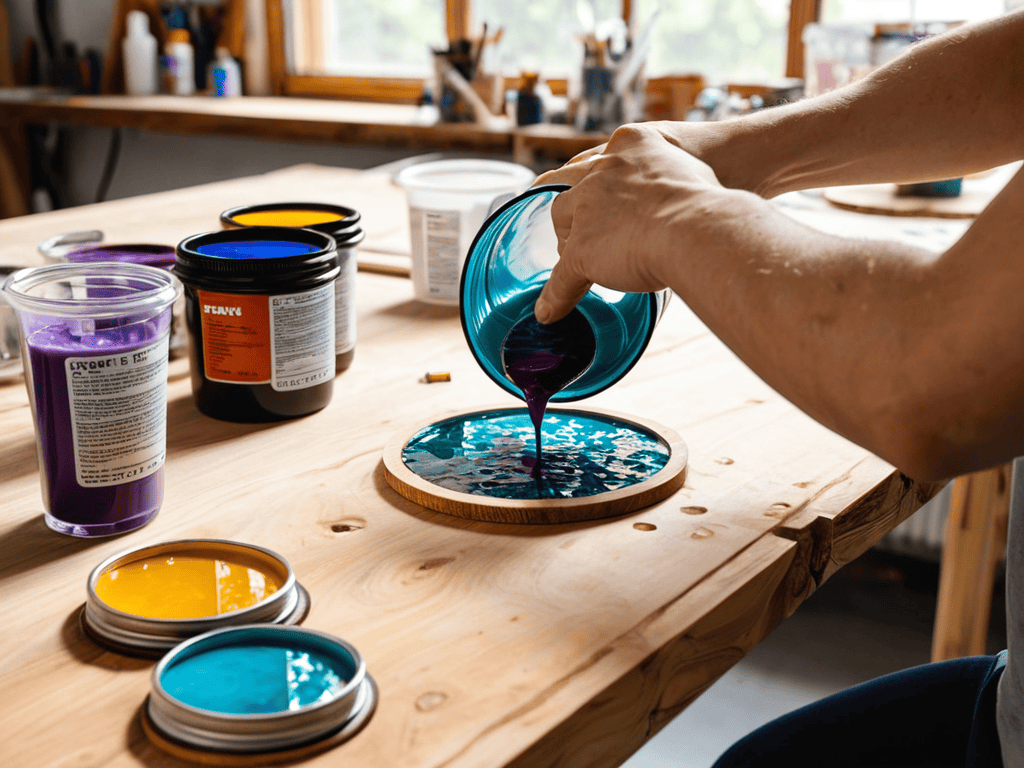
- 5. Once you’ve added all your desired elements, it’s time to pour the epoxy mixture into your mold or onto your workspace, depending on the project you’re making. Make sure to pour slowly and evenly to maintain control over the epoxy’s flow.
- 6. After pouring, use a heat gun or torch to remove any air bubbles that may have formed. Be cautious not to apply too much heat, as this can cause the epoxy to cure too quickly or unevenly.
- 7. Now, you just have to let it cure. The curing time will depend on the type of epoxy you’re using and the environmental conditions, so be sure to follow the instructions on the packaging. It’s also a good idea to keep your project in a warm, dry place to ensure it cures evenly and thoroughly.
- 8. Finally, once your epoxy has fully cured, you can remove it from the mold or trim any excess from your project. If necessary, you can also apply a second coat of epoxy or add additional decorative elements to really make your project stand out.
Explore Diy Epoxy Projects
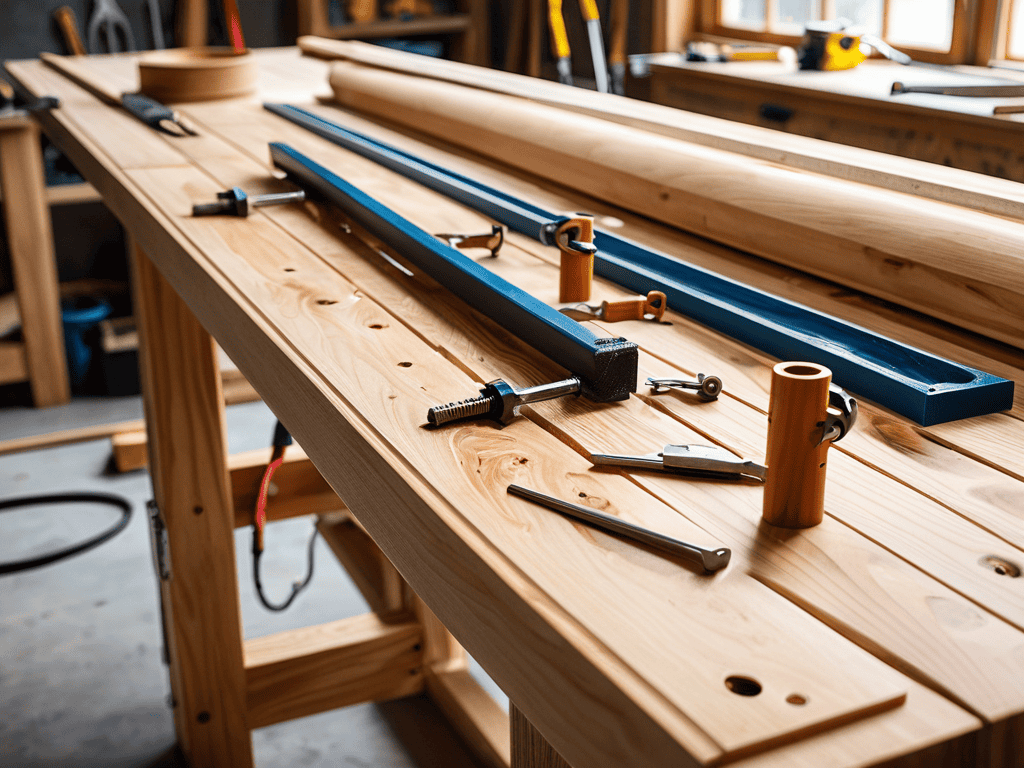
As you delve deeper into the world of epoxy resin, you’ll discover a multitude of creative outlets. One of the most fascinating aspects is epoxy resin woodworking, which allows you to craft stunning pieces of furniture that showcase your skill and attention to detail. By combining epoxy with wood, you can create unique and durable items that will last for years to come. Whether you’re making a beautiful resin and wood furniture design or a intricate epoxy mold, the possibilities are endless.
When working with epoxy, it’s essential to experiment with different techniques to achieve the desired effect. Colorful epoxy pour art is a great way to add a pop of color and personality to your projects. By mixing and matching various epoxy colors, you can create one-of-a-kind pieces that reflect your style and creativity. Additionally, epoxy river table construction is another popular method that involves creating a beautiful, glass-like surface that resembles a river.
To take your epoxy skills to the next level, consider exploring decorative epoxy flooring ideas. This involves using epoxy to create stunning floor designs that can transform any room in your home. With the right techniques and materials, you can achieve a professional-looking finish that’s both durable and visually striking. By pushing the boundaries of what’s possible with epoxy, you’ll unlock a world of creative possibilities and discover new ways to express yourself through your craft.
Mastering Epoxy Resin Woodworking
Mastering epoxy resin woodworking is all about experimentation and patience. I’ve spent hours perfecting my technique, and the results are truly stunning. By combining epoxy resin with wood, you can create unique, eye-catching pieces that add a touch of personality to any room. From river tables to resin-coated wall art, the possibilities are endless. With a little practice, you’ll be able to achieve a professional-looking finish that’s sure to impress friends and family.
Unleashing Colorful Epoxy Pour Art
Now that we’ve delved into the world of epoxy resin woodworking, it’s time to unleash our creativity with colorful epoxy pour art. This mesmerizing technique involves mixing epoxy resin with vibrant pigments and pouring it onto a surface, creating unique, swirly patterns. I’m absolutely fascinated by the way the colors blend and merge, forming one-of-a-kind designs. With epoxy pour art, the possibilities are endless – from creating stunning wall art to crafting beautiful tabletops and coasters.
As I experiment with different color combinations and techniques, I’m constantly amazed by the beauty and simplicity of epoxy pour art. Whether you’re a seasoned artist or a beginner, this medium is incredibly forgiving, allowing you to make mistakes and turn them into something truly remarkable.
Epoxy Like a Pro: 5 Essential Tips to Elevate Your DIY Game
- Prepare for Perfection: Make sure your workspace is dust-free and totally clean before starting your epoxy project – it’s a total game-changer for avoiding bubbles and imperfections
- Resin Ratio Ruler: Always, always, always follow the instructions for mixing your epoxy resin and hardener – the wrong ratio can lead to a disaster, so don’t even think about skipping this step
- Color Craze: Experiment with different pigments and dyes to create one-of-a-kind, show-stopping epoxy pieces that reflect your personality and style
- Temperature Tango: Keep an eye on the temperature in your workspace, as extreme heat or cold can affect the epoxy’s curing time and overall quality – aim for a sweet spot around 70-75°F
- Patience is a Virtue: Don’t rush the curing process – let your epoxy project sit for the recommended amount of time to ensure it’s fully set and rock-hard, or you might end up with a sticky mess on your hands
Key Takeaways for DIY Epoxy Enthusiasts
I’ve discovered that with a little practice, anyone can create stunning DIY epoxy pieces that rival store-bought decor
Mastering the basics of epoxy resin woodworking and pour art can unlock a world of creative possibilities, from custom furniture to vibrant wall hangings
By experimenting with different colors, materials, and techniques, you can develop a unique style and voice in your DIY epoxy projects, making each piece truly one-of-a-kind
Embracing Creativity
As I dive into the world of DIY epoxy projects, I’m constantly reminded that the beauty of resin lies not just in its glossy finish, but in the freedom to experiment, to fail, and to transform the ordinary into something extraordinary.
Amanda Rae
Conclusion: Unlocking the Full Potential of DIY Epoxy Projects
As we conclude this journey through the world of DIY epoxy projects, it’s essential to reflect on the key takeaways. We’ve covered the fundamental steps to get started, from preparation to the final touches. We’ve also explored the exciting realms of mastering epoxy resin woodworking and unleashing colorful epoxy pour art. These skills, once mastered, can open doors to a wide range of creative possibilities, allowing you to transform any space with your unique creations. Whether you’re looking to enhance your home decor or create personalized gifts, DIY epoxy projects offer a versatile and rewarding outlet for your creativity.
The beauty of DIY epoxy projects lies in their ability to combine technical skill with artistic expression. As you continue on your epoxy journey, remember that the true magic happens when you step out of your comfort zone and experiment with new techniques and ideas. Don’t be afraid to make mistakes – they often lead to unexpected and exciting outcomes. With patience, practice, and a willingness to learn, you’ll find that the world of DIY epoxy projects is limitless, offering a lifetime of creative exploration and endless possibilities for innovation and self-expression.
Frequently Asked Questions
What are the most common mistakes to avoid when working with epoxy resin?
Honestly, I’ve learned the hard way – mixing ratios, temperature, and patience are key. Not mixing properly, working in extreme temps, and rushing the curing process are rookie mistakes that’ll drive you nuts. Trust me, take your time and get it just right, or you’ll be stuck with a messy, brittle disaster on your hands!
How can I achieve specific colors and patterns in my DIY epoxy projects?
To achieve specific colors and patterns, I swear by experimenting with different pigment ratios and techniques. Try layering transparent epoxy for a marbled effect or using metallic powders for a sleek, high-gloss finish. You can also play with adding dyes or pigments to the resin for unique, custom hues – it’s all about trial and error, and I love the surprise!
What safety precautions should I take when working with epoxy resin and hardeners?
When working with epoxy resin and hardeners, I always wear gloves, safety goggles, and a mask to avoid skin irritation and inhaling fumes. Make sure you’re in a well-ventilated area and keep the workspace clean to prevent accidents. It’s also a good idea to have a fire extinguisher nearby, just in case.
Leave a Reply
You must be logged in to post a comment.