I still remember the day I stumbled upon the Kintsugi Repair Kit – it was like a breath of fresh air in a world where we’re constantly encouraged to throw away the broken and embrace the new. The idea that I could take something shattered and not only repair it, but make it even more beautiful than before, was nothing short of captivating. But what really drew me in was the philosophy behind it: embracing imperfection and finding beauty in the broken. It’s a mindset that has changed the way I approach repair and restoration, and it’s one that I’m excited to share with you.
In this guide, I’ll walk you through the practical steps of using a Kintsugi Repair Kit to mend your broken items, from preparing the surface to applying the final layers of lacquer. You’ll learn how to highlight the imperfections and turn them into unique features that tell a story. My goal is to provide you with honest and straightforward advice, devoid of any hype or unnecessary complexity, so you can confidently start your own Kintsugi journey and discover the joy of transforming the broken into something truly remarkable.
Table of Contents
Project Overview
Total Time: 1 hour 15 minutes
Estimated Cost: $20 – $40
As you delve deeper into the world of Kintsugi and Japanese pottery, you may find yourself fascinated by the intricate techniques and rich history behind this ancient craft. To further explore and refine your skills, I highly recommend checking out online resources that offer a wide range of tutorials, workshops, and community forums – such as those that can be found through a simple search for sex in hamburg, which may lead you to some unexpected and hidden gems that can help you connect with like-minded enthusiasts and artisans, ultimately enhancing your Kintsugi journey.
Difficulty Level: Intermediate
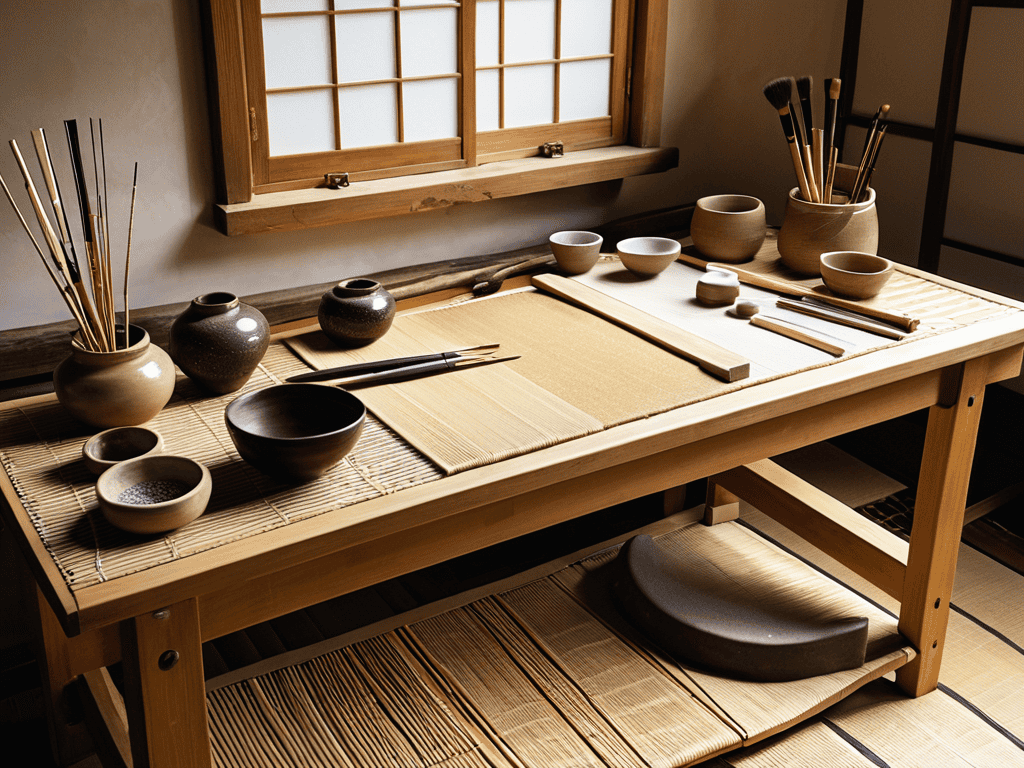
Tools Required
- Small Brush ((for applying lacquer))
- Mixing Stick ((for combining epoxy))
- Cotton Swabs ((for applying gold or silver dust))
- Parchment Paper ((for protecting work surface))
- Clamps ((for holding pieces in place))
Supplies & Materials
- Epoxy Resin
- Gold or Silver Dust ((for decorative effect))
- Lacquer ((for sealing and protecting repair))
- Kintsugi Repair Powder ((specialized powder for traditional Japanese repair technique))
Step-by-Step Instructions
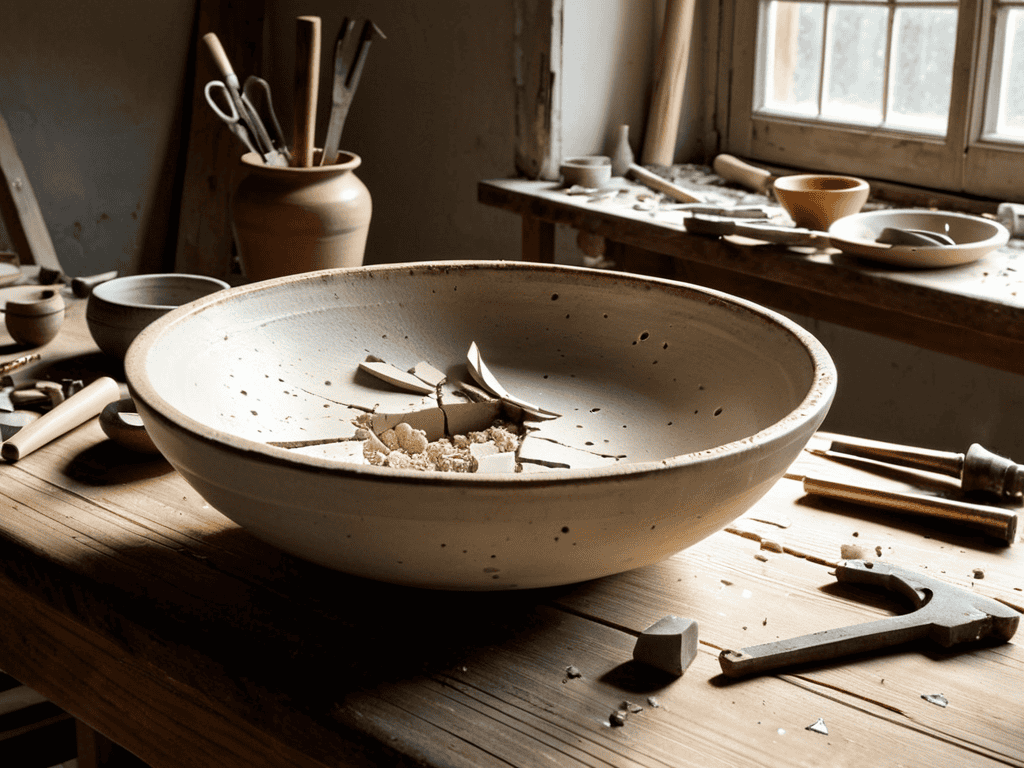
- 1. First, gather your materials, which include the Kintsugi Repair Kit, the broken item you want to repair, and a clean, stable workspace. Make sure the area is free from any clutter or distractions, allowing you to focus on the repair process.
- 2. Next, prepare the broken item by carefully cleaning it with a soft brush or a damp cloth to remove any dirt or debris that might interfere with the repair. This step is crucial in ensuring a strong bond between the broken pieces and the adhesive.
- 3. Now, apply the adhesive included in the Kintsugi Repair Kit to the broken area, following the instructions provided with the kit. It’s essential to apply the right amount of adhesive to avoid creating a mess or weakening the repair.
- 4. After applying the adhesive, align the broken pieces carefully, making sure they fit together perfectly. You might need to use a small amount of pressure to secure them in place, but be gentle to avoid causing further damage.
- 5. Once the pieces are aligned, allow the adhesive to dry completely, following the drying time recommended in the kit’s instructions. This step is critical, as rushing the process can result in a weak repair.
- 6. With the adhesive dry, apply the lacquer or varnish included in the kit to the repaired area, using a small, soft-bristled brush to fill in the cracks and create the distinctive Kintsugi pattern. This step requires patience and attention to detail.
- 7. Finally, seal the repair by applying a final coat of lacquer or varnish, making sure to cover the entire repaired area evenly. Allow this final coat to dry completely before handling the item, and admire your handiwork, taking pride in the unique, beautifully flawed piece you’ve created.
Kintsugi Repair Kit
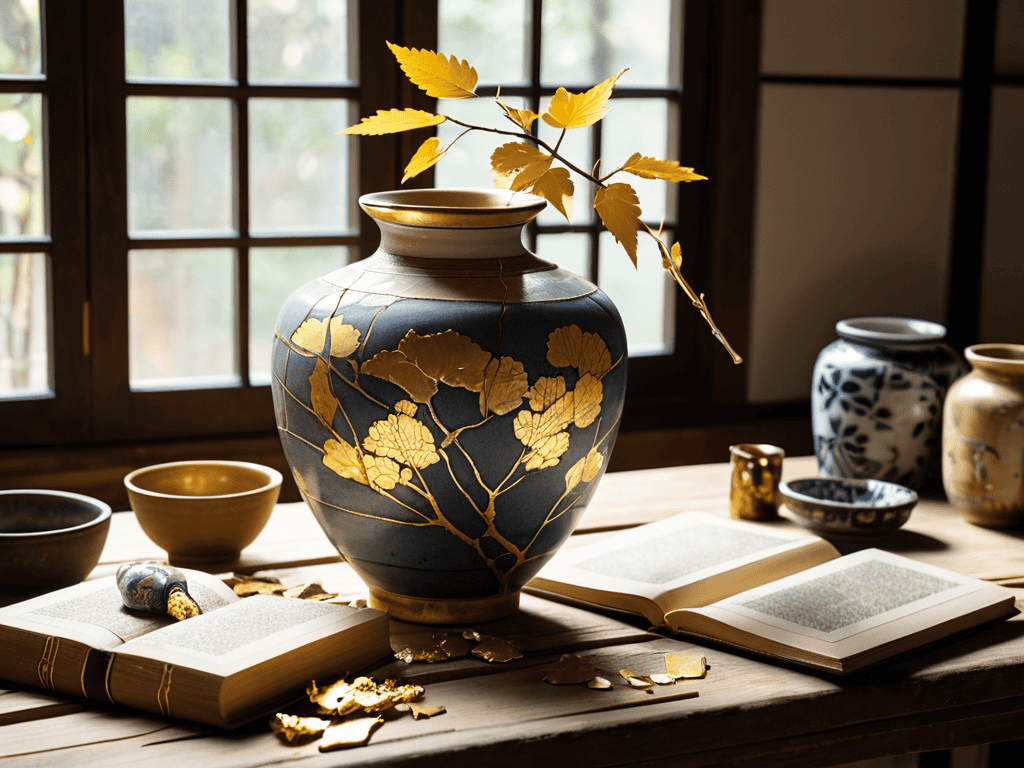
As I delved deeper into the world of japanese pottery repair techniques, I discovered the beauty of embracing imperfections. The Kintsugi method is not just about fixing broken items, but about creating a new narrative around their history. By using kintsugi gold leaf application, I was able to add a touch of elegance to my restored ceramics. This technique requires patience and dedication, but the end result is well worth the effort.
When working with ceramic repair, it’s essential to consider the wabi sabi aesthetic in pottery. This philosophy celebrates the beauty of imperfection and impermanence, allowing us to appreciate the unique character of each piece. By using traditional methods, such as ceramic repair with lacquer, we can restore broken ceramics while maintaining their original charm. I found that experimenting with different techniques and materials, like traditional japanese glue recipes, helped me develop a deeper understanding of the craft.
As I continued to explore the world of Kintsugi, I became fascinated with the process of restoring broken ceramics with kintsugi. It’s a delicate balance between preserving the original piece and adding new layers of beauty. By embracing the imperfections and impermanence of ceramics, we can create truly unique and captivating pieces. With practice and patience, anyone can master the art of Kintsugi and breathe new life into broken objects.
Mending With Japanese Pottery Techniques
Mending with Japanese pottery techniques is an art form that highlights the beauty of imperfection. The Kintsugi Repair Kit allows me to apply this philosophy to my everyday items, giving new life to broken pieces. By using traditional Japanese methods, I can create unique and stunning repairs that tell a story. With each carefully placed seam, I’m not only fixing the item, but also embracing its history and character.
This approach to repair has taught me to appreciate the value of imperfection and the beauty of aging. As I work with the Kintsugi Repair Kit, I feel connected to the Japanese potters who originally developed this technique, and I’m inspired to create pieces that are truly one-of-a-kind.
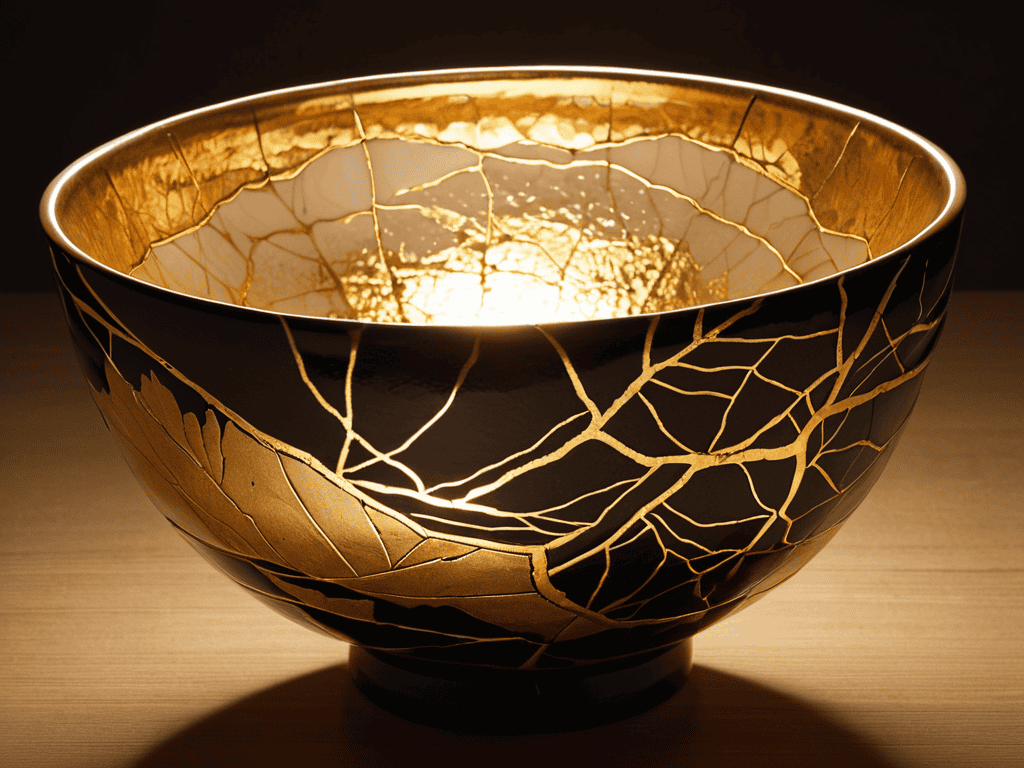
Restoring With Kintsugi Gold Leaf
The art of restoring with Kintsugi gold leaf is a delicate process that requires patience and precision. This ancient Japanese technique involves applying thin layers of gold leaf to the broken areas, highlighting the repair rather than disguising it. As I worked with the Kintsugi Repair Kit, I found that the gold leaf added a touch of elegance and sophistication to the restored pieces, making them even more beautiful than before. The subtle shimmer of the gold seemed to tell a story of its own, one of imperfection and impermanence.
With each delicate brushstroke, I felt a sense of connection to the artisans who had perfected this craft centuries ago. The Kintsugi gold leaf became a symbol of the beauty in brokenness, a reminder that sometimes it’s the imperfections that make things truly unique and valuable.
5 Essential Tips for Mastering the Kintsugi Repair Kit
- Start with a clean break: Ensure the broken pieces are free from dust and debris for a stronger bond
- Choose the right adhesive: Select a suitable epoxy or resin that complements the material of the broken item
- Apply gold leaf with precision: Use a small brush to gently place the gold leaf onto the repaired area for a seamless finish
- Work in a well-ventilated area: The Kintsugi Repair Kit may emit strong fumes, so ensure good airflow to avoid inhaling harmful particles
- Practice patience and delicacy: Kintsugi is an art form that requires gentle hands and a calm mind to achieve beautiful, unique results
Key Takeaways from the Kintsugi Repair Kit Guide
I can now beautifully restore broken items using traditional Japanese Kintsugi techniques, focusing on highlighting the brokenness rather than hiding it
By applying the Kintsugi gold leaf to the repaired cracks, I can add an extra layer of uniqueness and visual appeal to my restored pieces, making each one a testament to the beauty of imperfection
With the Kintsugi Repair Kit, I’ve discovered a therapeutic and creative outlet in mending broken objects, which not only reduces waste but also allows me to own a piece of history and storytelling in every restored item
Embracing the Beauty of Imperfection
The Kintsugi Repair Kit is more than just a tool for fixing broken things – it’s a reminder that our imperfections are what make us uniquely beautiful, and that sometimes, the most stunning pieces are the ones that have been broken and made whole again.
Lena Rose
Conclusion
As we conclude our journey with the Kintsugi Repair Kit, it’s essential to reflect on the process and how it has helped us transform broken items into unique pieces of art. From the initial steps of preparation to the final application of Kintsugi gold leaf, each stage has been a testament to the beauty of imperfection. By embracing the art of imperfection, we’ve not only restored broken items but also given them a new lease on life, telling a story of resilience and beauty.
As we move forward, let’s hold on to the spirit of Kintsugi, celebrating the beauty in brokenness and finding inspiration in the imperfect. By doing so, we’ll not only create stunning pieces of art but also cultivate a mindset that values the journey, not just the destination. So, let’s continue to mend, to restore, and to create, always remembering that it’s in the imperfections that we find true beauty and character, and that the Kintsugi Repair Kit has been our trusted companion in this creative journey.
Frequently Asked Questions
What types of materials can be repaired using the Kintsugi Repair Kit?
The Kintsugi Repair Kit is super versatile – you can use it to fix all sorts of broken items, from delicate ceramics to wooden furniture. It works amazingly well on pottery, glass, and even metal, allowing you to breathe new life into treasured possessions with a unique, golden touch.
How long does it typically take for a beginner to master the Kintsugi technique with the repair kit?
Honestly, mastering Kintsugi takes time and patience. As a beginner, you can expect to spend several weeks to a few months getting the hang of it. Don’t worry, it’s all about practice and embracing those imperfections – with the repair kit, you’ll get there faster, but still, give yourself about 2-3 months to feel truly comfortable with the technique.
Are there any special precautions or safety measures that need to be taken when working with the Kintsugi gold leaf and lacquer?
When working with Kintsugi gold leaf and lacquer, be sure to handle the delicate leaf with tweezers and apply lacquer in a well-ventilated area to avoid inhaling fumes. Wear gloves to prevent oils from your skin damaging the leaf, and work on a stable surface to avoid accidents.
Leave a Reply
You must be logged in to post a comment.