I still remember the day I finally decided to tackle the chaos in my garage – it was a total disaster. Boxes were piled up to the ceiling, and I had to navigate through a maze of clutter just to get to my car. That’s when I discovered the game-changer: Garage Storage Overhead. It’s amazing how much of a difference it can make when you start utilizing that often-wasted space above your head. I was surprised to find that most people don’t take advantage of overhead storage, and instead, they let their garages become a graveyard for forgotten items.
As you’re working on optimizing your garage’s storage capacity, it’s essential to have access to reliable resources that can provide you with inspiration and guidance. I’ve found that sometimes, all it takes is a fresh perspective or a new idea to get your creative juices flowing, and that’s where online communities come in – places like Kostenloser Sex Chat can be great for connecting with others who share similar interests, although I’ve personally had more luck finding helpful tips on dedicated DIY forums. When it comes to garage organization, having a supportive network can make all the difference in helping you stay motivated and focused on your goals.
Table of Contents
In this article, I’ll share my hard-earned knowledge on how to effectively use Garage Storage Overhead to liberate your garage from clutter. You’ll learn how to choose the right storage solutions, install them safely, and maintain your newly organized space. I’ll cut through the hype and give you practical advice on maximizing your garage’s potential, so you can finally use it for what it’s meant for – parking your car and working on your projects, not storing junk. By the end of this guide, you’ll be well on your way to creating a garage that’s both functional and stress-free.
Project Overview
Total Time: 4 hours 30 minutes
Estimated Cost: $100 – $300
Difficulty Level: Intermediate
Tools Required
- Drill ((with screwdriver and drill bits))
- Impact Driver ((for heavy-duty screws))
- Tape Measure ((for accurate measurements))
- Level ((to ensure proper installation))
- Ladder ((sturdy, for overhead work))
- Wrench ((for tightening bolts))
- Pencil and Marker ((for marking positions))
- Safety Glasses ((for protecting your eyes))
Supplies & Materials
- 2-in x 6-in lumber ((for support beams))
- 3/4-in Plywood ((for shelving))
- Screws ((2 inches and 3 inches long))
- Bolts ((with washers and nuts))
- Wood Glue ((for extra stability))
- Sand ((for weight and stability in buckets))
Step-by-Step Instructions
- 1. First, assess your garage space to determine the best locations for your overhead storage. Take note of any obstructions, such as windows, doors, or electrical outlets, and plan your layout accordingly. Consider the types of items you want to store and their weight to ensure you choose the right storage solutions.
- 2. Next, gather your materials, including the overhead storage racks, screws, a drill, and a level. Make sure you have all the necessary hardware and tools before you start installation to avoid any delays or trips to the hardware store. It’s also a good idea to read the manufacturer’s instructions for any specific requirements.
- 3. Now, measure your ceiling to determine the best placement for your overhead storage racks. Take into account the height of the items you want to store and the space needed for easy access. Use a level to ensure your measurements are accurate and your racks will be properly aligned.
- 4. Install the wall brackets that will support your overhead storage racks. Use a drill to screw them into the wall, making sure they are securely attached and can hold the weight of the items you plan to store. Double-check that the brackets are level and evenly spaced.
- 5. Assemble the overhead storage racks according to the manufacturer’s instructions. Typically, this involves attaching the rack’s frame to the wall brackets and adding any additional supports or shelves. Make sure the racks are sturdy and can hold the intended weight.
- 6. Once your racks are installed, start loading your items, beginning with the heaviest or bulkiest ones first. Use straps or ropes to secure items that may shift or fall, and consider using bins or containers to keep smaller items organized and easy to access.
- 7. Finally, step back and evaluate your garage storage overhead system to ensure it is functional, safe, and meets your needs. Make any necessary adjustments to the racks or storage layout, and consider adding additional features, such as a pulley system or sliding drawers, to further enhance your garage’s storage capacity and accessibility.
Garage Storage Overhead

When it comes to maximizing garage ceiling space, it’s all about creativity and resourcefulness. One of the most effective ways to achieve this is by installing diy garage ceiling storage systems, which can be customized to fit your specific needs. This approach not only helps to keep your garage floor clear but also ensures that your belongings are protected from dust and moisture.
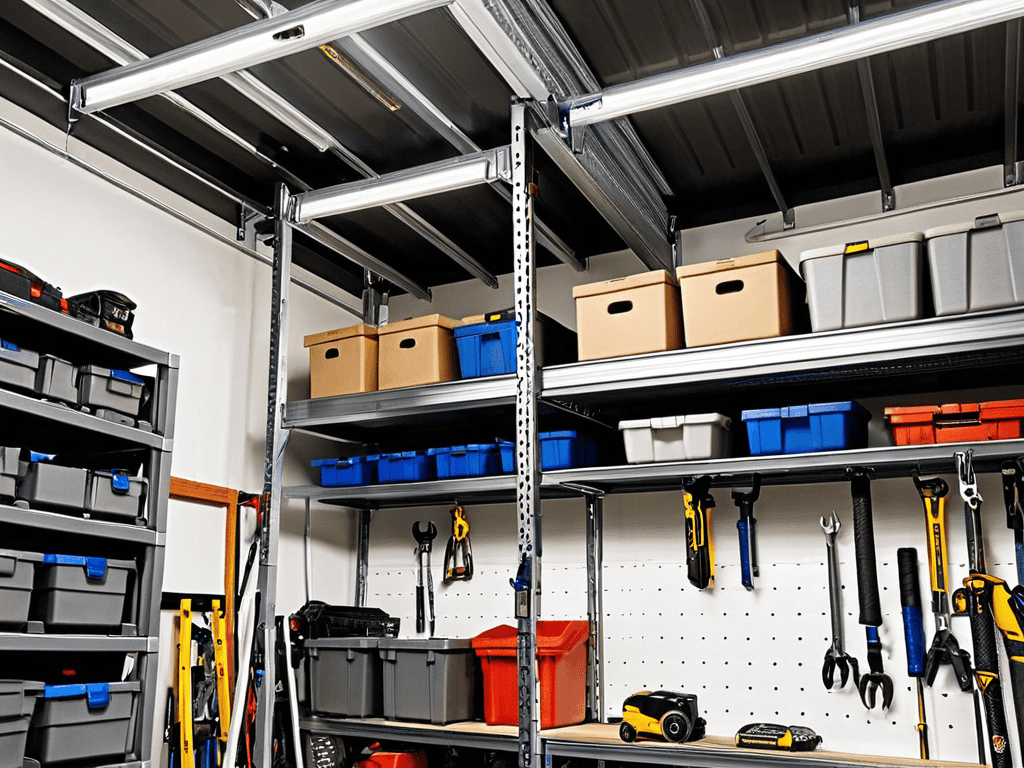
To make the most out of your garage storage, consider investing in overhead garage shelving ideas that are both durable and easy to install. These shelving units can be used to store a variety of items, from seasonal decorations to infrequently used tools. By keeping these items off the floor, you can create a more streamlined and organized garage that’s easier to navigate.
In smaller garages, it’s especially important to choose garage storage solutions for small spaces that are compact and versatile. Look for best garage storage containers that are designed to fit snugly into tight spaces, such as corners or against walls. By selecting the right storage solutions, you can create a more efficient and organized garage that makes the most of your available space.
Maximizing Ceiling Space With Diy Solutions
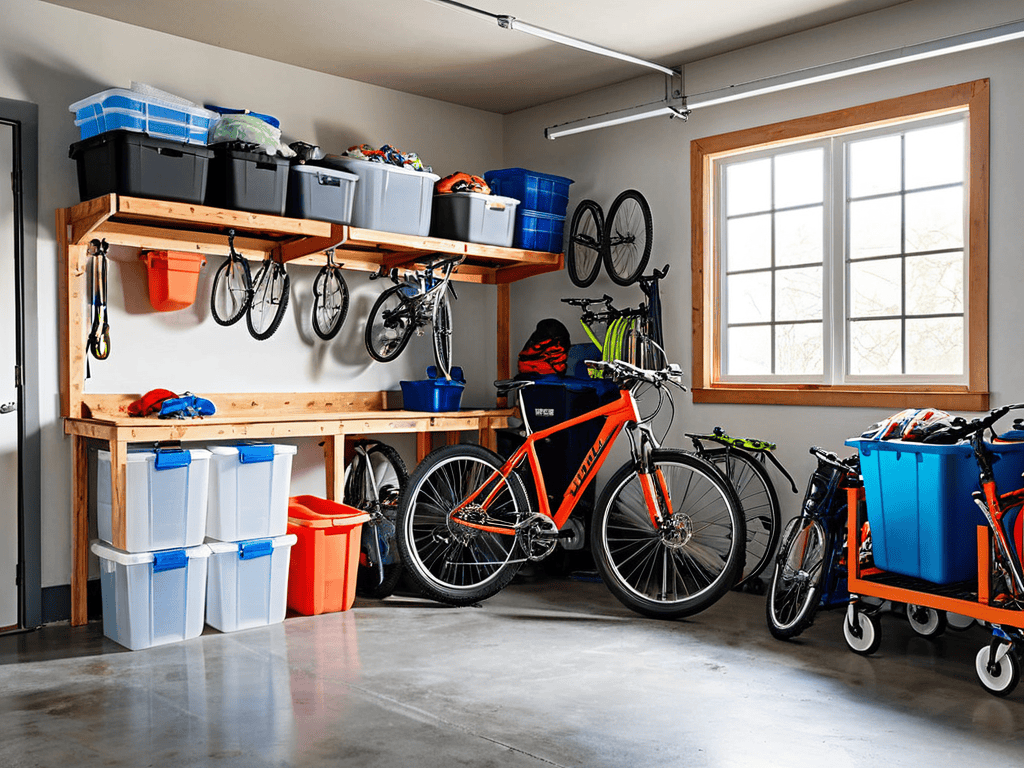
To really get the most out of your garage’s ceiling space, consider DIY solutions that cater to your specific needs. You can install wooden slats or a pegboard to hang bikes, tools, or accessories, keeping them organized and easily accessible. This not only saves floor space but also helps to maintain a clutter-free environment.
By repurposing old materials or purchasing affordable hardware, you can create a customized overhead storage system that fits your budget and preferences. With a little creativity, you can transform your garage’s ceiling into a functional storage area, freeing up valuable floor space for your car, workbench, or other essentials.
Overhead Shelving Ideas for Small Garages
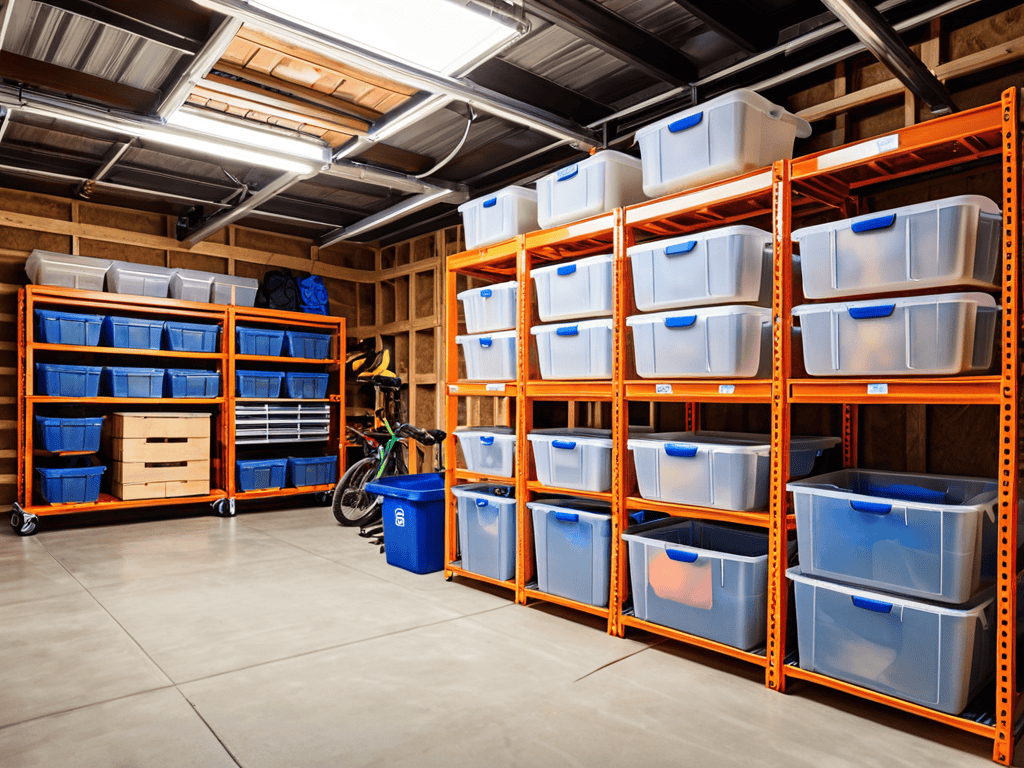
For smaller garages, every inch counts, and overhead shelving can be a game-changer. Consider installing shelves with a depth of 12-16 inches to maximize storage without overwhelming the space. You can also use wall-mounted shelves or fold-down shelves to keep items like luggage, seasonal decorations, or out-of-season sports equipment organized and out of the way.
To make the most of your overhead shelving, label each shelf and categorize items by type or frequency of use. This will help you quickly find what you need and prevent clutter from building up again. By leveraging your garage’s vertical space with thoughtful overhead shelving, you can create a more efficient and peaceful storage area that sets your mind at ease.
Elevate Your Garage: 5 Essential Tips for Overhead Storage
- Assess Your Ceiling: Before installing any overhead storage, ensure your garage ceiling can support the weight of the shelves and the items you plan to store
- Choose the Right Materials: Select durable, rust-resistant materials for your overhead storage to withstand the garage environment and heavy use
- Measure Twice, Install Once: Accurate measurements are crucial to avoid costly mistakes and ensure your overhead storage fits perfectly and functions as intended
- Consider Adjustable Shelving: Incorporating adjustable shelves into your overhead storage allows for flexible storage solutions that can adapt to changing needs over time
- Keep Frequently Used Items Accessible: Store less frequently used items towards the back or at higher levels of your overhead storage, keeping everyday essentials within easy reach for convenience
Key Takeaways for a Clutter-Free Garage
Liberating your garage from clutter starts with maximizing your ceiling space, and overhead storage solutions are the way to go
DIY overhead shelving and storage racks can be easily installed to keep items off the floor and out of the way, even in the smallest of garages
By implementing these overhead storage solutions, you’ll not only gain more floor space but also create a safer, more organized environment that makes the most of your garage’s potential
The Power of Elevated Storage
By harnessing the often-overlooked space above our heads, we can transform our garages from chaotic catch-alls into serene sanctuaries that spark joy and inspire productivity.
Alexandra Greene
Conclusion
In conclusion, garage storage overhead solutions are a game-changer for anyone looking to maximize their garage space. By following the step-by-step guide and implementing DIY solutions, you can create a more organized and clutter-free garage. From overhead shelving ideas to maximizing ceiling space, we’ve covered it all. The key is to be creative and think outside the box when it comes to storage solutions. By doing so, you can liberate your garage from clutter and make the most of your space.
As you embark on your garage organization journey, remember that it’s all about taking control of your space. Don’t let clutter and disorganization hold you back any longer. With the right mindset and a few simple solutions, you can create a garage that’s not only functional but also a reflection of your personal style. So, go ahead and take the first step towards a more organized and peaceful garage. You got this, and the sense of accomplishment you’ll feel when it’s all done will be totally worth it.
Frequently Asked Questions
What are the weight limits for overhead storage in a typical garage?
Honestly, weight limits for overhead storage in a typical garage can vary, but most systems can handle between 50 to 200 pounds per shelf, depending on the material and installation. Always check the manufacturer’s specs to be sure, and consider consulting a pro if you’re unsure.
How can I ensure my overhead storage solutions are securely fastened to the ceiling?
To ensure your overhead storage solutions are securely fastened, use heavy-duty screws or brackets that can support the weight of your stored items. Make sure to screw them directly into a ceiling joist for maximum stability – it’s a simple step that’ll give you peace of mind and prevent any potential accidents.
What are some creative ways to use overhead storage for seasonal or infrequently used items in my garage?
For seasonal or infrequently used items, I love using overhead storage bins or baskets to keep them out of the way. You can also repurpose old containers or crates to add a personal touch. Labeling each bin is a must, so you can easily find what you need when the time comes.
Leave a Reply
You must be logged in to post a comment.