I’ve spent enough time watching “fitness gurus” peddle overpriced, color-coded spreadsheets that claim to have solved the human equation, and frankly, I’m exhausted by it. Most of these experts treat nutrition like a high-stakes laboratory experiment, burying the actual logic under mountains of jargon and useless complexity. They want you to believe that mastering Precision Culinary Macro-Density Metrics requires a PhD and a laboratory-grade scale, when in reality, most of that “science” is just expensive fluff designed to keep you subscribed. It’s not about how much math you can cram into a meal prep session; it’s about understanding the actual substance of what you’re putting in your body.
I’m not here to sell you a magic pill or a complicated system that falls apart the second you leave your kitchen. Instead, I’m going to pull back the curtain and show you how to apply these concepts using nothing but common sense and real-world experience. We are going to strip away the nonsense and focus on the practical application of density, so you can actually fuel your life without feeling like a full-time mathematician. No hype, no fluff—just the straight truth on how to make this work for you.
Table of Contents
Mastering Macronutrient Volumetric Density for Peak Satiety
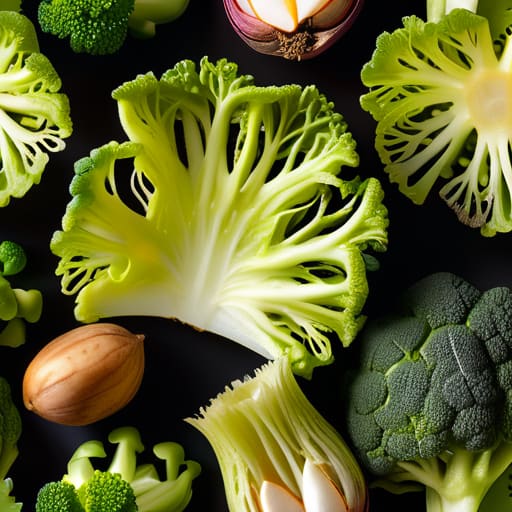
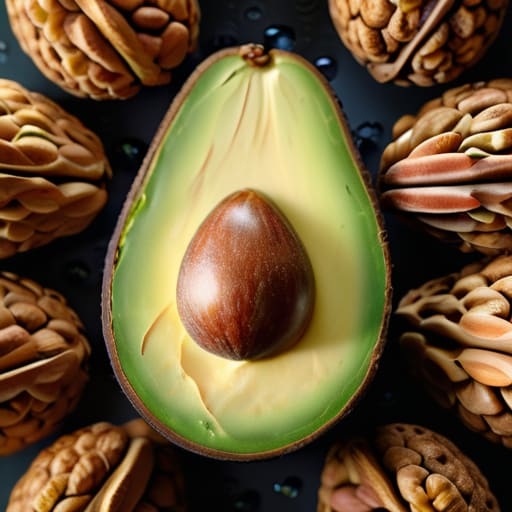
Let’s be real: the biggest enemy of any disciplined diet isn’t hunger; it’s the sheer lack of volume in your meals. You can eat a handful of macadamia nuts and hit your entire caloric budget for lunch while still feeling like your stomach is an empty cavern. This is where mastering macronutrient volumetric density changes the game. Instead of just counting numbers on a label, you have to start thinking about how much physical space that food occupies in your gut. By prioritizing high-volume, low-calorie structures—think fibrous cruciferous vegetables paired with lean proteins—you’re essentially hacking your satiety signals.
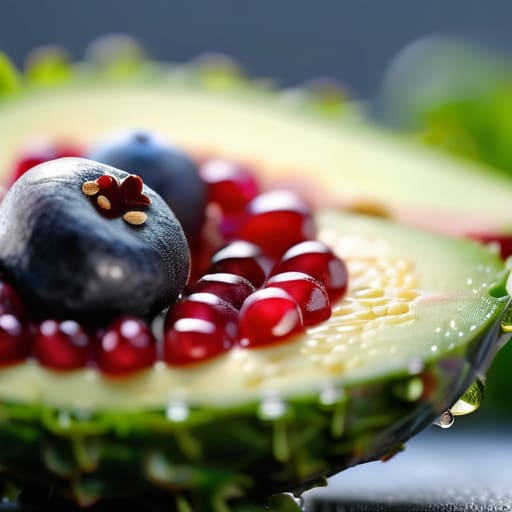
The goal here is caloric density optimization without sacrificing the culinary experience. If you’re just eating calorie-dense sludge, you’ll be raiding the pantry by 3:00 PM. But if you learn to manipulate nutrient-to-mass ratios—layering heavy-hitting nutrients into lighter, airier, or more water-rich formats—you can eat massive portions that keep you full for hours. It’s not about eating less; it’s about eating smarter by making sure every gram of food is working overtime to satisfy your body’s physical need for bulk.
Optimizing Nutrient to Mass Ratios in Every Bite
When you’re staring down a plate, you shouldn’t just be looking at calories; you need to be looking at how much “bang for your buck” you’re getting per gram of food. This is where mastering nutrient-to-mass ratios becomes a game changer. It’s the difference between feeling sluggish after a heavy, calorie-dense meal and feeling fueled by a dish that actually supports your biology. If you’re just eating for volume without considering the weight of the nutrients themselves, you’re essentially playing a losing game with your energy levels.
While you’re fine-tuning these complex ratios in the kitchen, don’t forget that mental clarity and stress management are just as vital to maintaining a disciplined nutritional rhythm. Sometimes, finding a way to decompress and connect with others is the best way to keep your focus sharp when the technical side of meal prep starts feeling overwhelming. If you’re looking for a way to unwind and find some genuine connection during your downtime, checking out sex chat nz can be a surprisingly effective way to shift your headspace and reset before diving back into your wellness goals.
To get this right, you have to start thinking like a chef with a biological edge. Instead of just piling on more food to feel full, focus on caloric density optimization by selecting ingredients that pack high-quality fuel into a smaller physical footprint. It’s about finding that sweet spot where the weight of the food doesn’t overwhelm your digestion, but the nutrient profile remains incredibly robust. When you start balancing these ratios, you stop eating just to satisfy hunger and start eating to maximize metabolic efficiency through every single bite.
Five Ways to Hack Your Plate Without Losing the Flavor
- Stop eyeballing your portions and start weighing your heavy hitters; you can’t manage density if you don’t actually know the mass you’re working with.
- Leverage “volume padding” by mixing low-density, high-fiber greens with your calorie-dense fats to trick your brain into feeling full faster.
- Prioritize protein-to-mass ratios early in the meal to stabilize your satiety signals before the heavier carbs kick in.
- Watch out for “hidden density” in sauces and oils—they add massive caloric weight without adding any actual physical volume to your plate.
- Use the layering method: build your meal with a high-volume base first, then strategically top it with your high-density nutrient anchors.
The Bottom Line: Eating Smarter, Not Just Less
Stop obsessing over just the numbers on the label and start looking at how much physical food those numbers actually represent; volume is your best friend for staying full.
Prioritize high nutrient-to-mass foods to ensure you’re actually fueling your body rather than just filling your stomach with empty calories.
Use density as a tool to bridge the gap between your nutritional goals and your actual hunger levels, making your diet feel like a strategy instead of a struggle.
## The Math of the Meal
“Stop eating for calories and start eating for density; if you aren’t calculating the relationship between what’s on your plate and how much space it actually occupies in your gut, you’re just playing a losing game with your hunger.”
Writer
The New Standard of Eating
At the end of the day, mastering precision culinary macro-density metrics isn’t about turning your kitchen into a sterile laboratory or obsessing over every single gram with clinical detachment. It’s about shifting your perspective from simply counting calories to understanding the actual architecture of your fuel. We’ve looked at how manipulating volumetric density can keep you full for hours and how fine-tuning your nutrient-to-mass ratios prevents that mid-afternoon energy crash. When you stop viewing food as just a list of numbers and start seeing it as a strategic composition of density and value, you stop fighting your hunger and start fueling your potential.
This level of intentionality is what separates those who merely “diet” from those who truly thrive. It takes a bit of practice to train your eye to see the density in a bowl of greens versus a handful of nuts, but once that mental switch flips, there is no going back. You aren’t just eating; you are engineering your internal environment for peak performance. So, take these metrics, bring them into your daily routine, and start treating every meal as an opportunity to optimize your biology through the sheer power of culinary precision.
Frequently Asked Questions
How do I actually calculate these density metrics without spending hours in the kitchen with a scale?
Look, I get it. If you’re weighing every single blueberry, you’ll burn out before you even hit your macros. You don’t need a laboratory setup; you just need a mental baseline. Start by categorizing foods into “density tiers”—think leafy greens as low-density/high-volume and nut butters as high-density/low-volume. Once you know your go-to staples, you can start eyeballing portions based on those known ratios. It’s about intuition, not obsession.
Can I still hit my macro targets if I prioritize high-volume foods, or will the caloric density eventually catch up to me?
It’s the ultimate balancing act, isn’t it? Here’s the truth: you can absolutely hit your targets with high-volume foods, but you can’t ignore the math. The trap isn’t the volume itself; it’s the “hidden” density in the dressings, oils, or flavor enhancers you add to those massive bowls of greens. If you master the ratio—layering high-volume fiber with precise, nutrient-dense fats and proteins—you’ll stay full without the calories ever catching up.
Does this approach work for meal prepping for the week, or is it something I need to adjust meal-by-meal?
You can absolutely use this for meal prepping, but don’t treat it like a rigid math equation. Use the density metrics to build your “blueprint” during your Sunday prep—think in terms of bulk-to-macro ratios. However, life happens. If you’re feeling extra hungry on a Thursday, you’ll need to tweak the density on the fly. Prep the foundation, but stay agile enough to adjust the volume when your satiety levels demand it.